I started with some O1 drill rod for the body of the tool. Most stuff I turn on the watchmaker's lathe isn't long enough to need the tailstock for support, but this sure was:
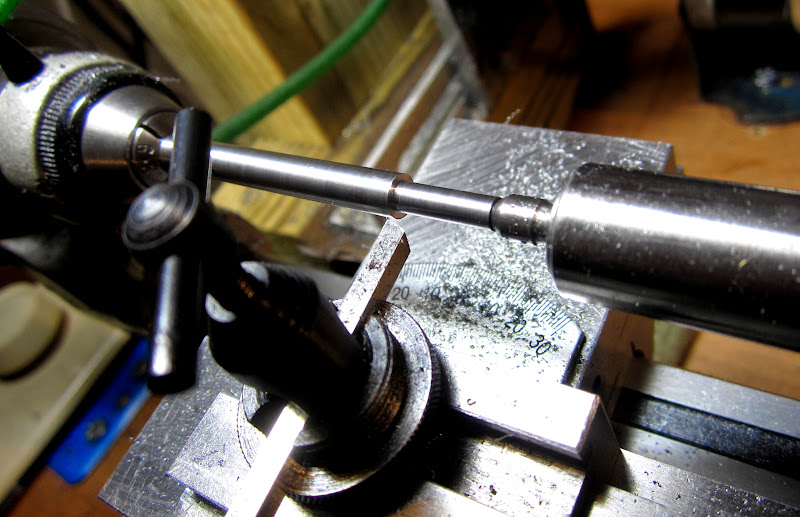
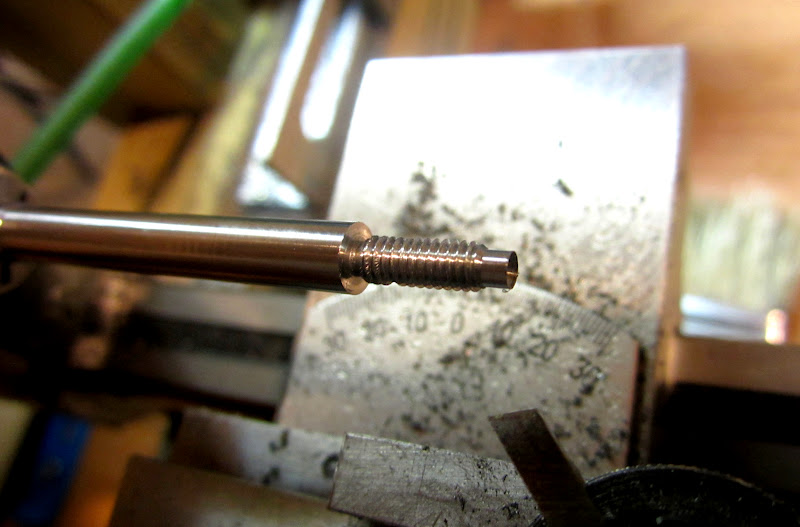
Ready for threading with M4x0.75 threads:
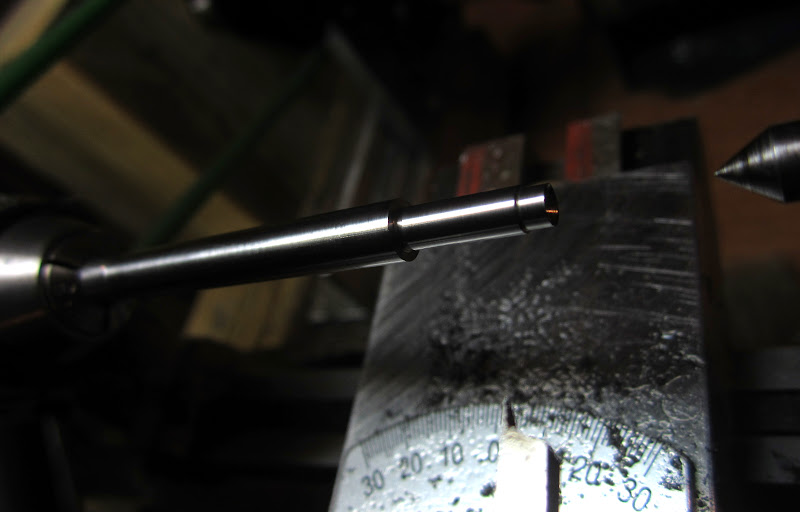
The last few threads ended up with some galling, which I was pretty bummed about. Here it is after threading, and turning down the very end a little more. I'm leaving the center-drilled end to receive a tiny brass pusher piece.
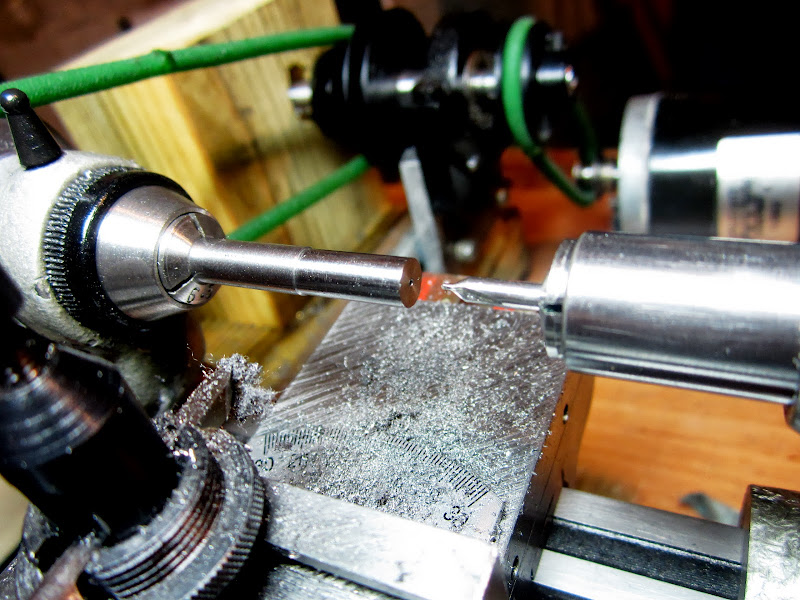
For the lantern, some more O1 was used and I started by taking a truing cut and then drilling the "business end" (where the threads of screw being worked on will stick through). For the first lantern, I'm using a hole 0.8mm in diameter:
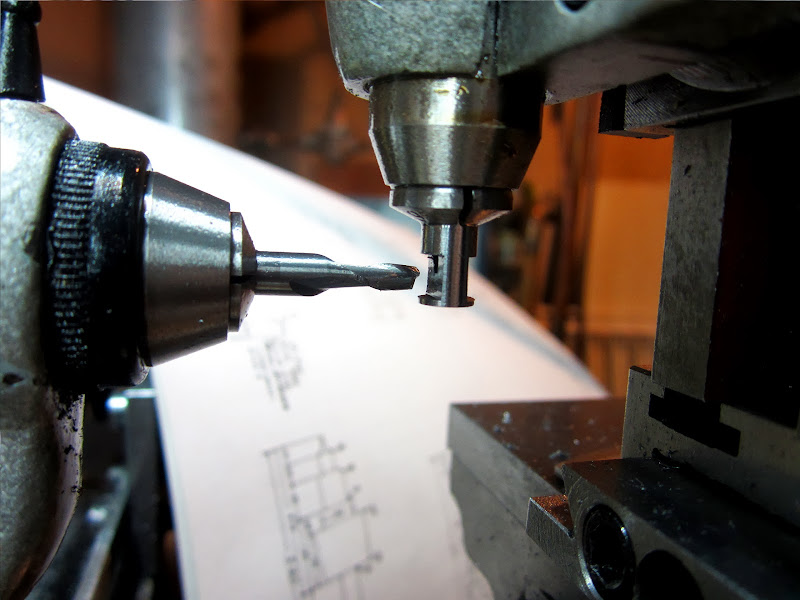
I didn't get a picture of the next operation, but I parted off the lantern and then reversed it in a collet to drill from the backside, stopping well before breaking through the other side.
Now the fun part, milling out the sides of the lantern. You can see that I didn't drill far enough from the back side, but no big deal - I returned the lantern to the lathe and drilled a little deeper.
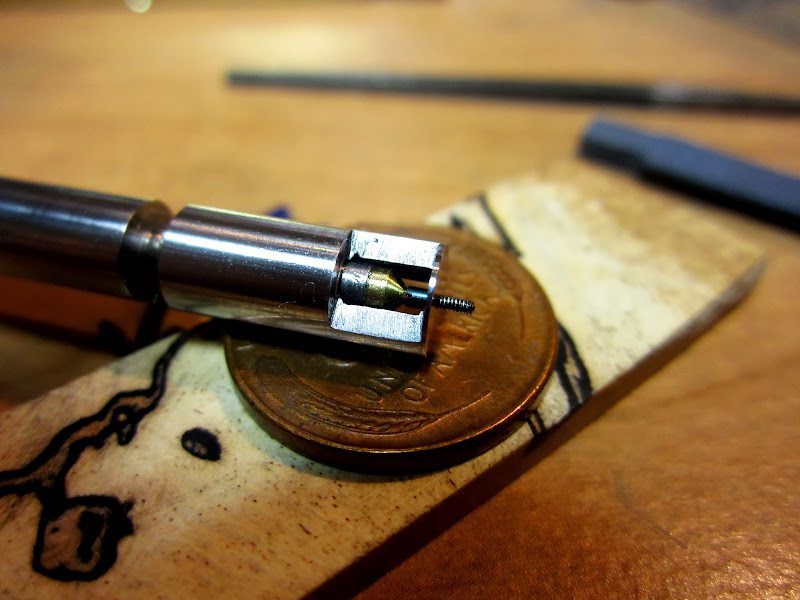
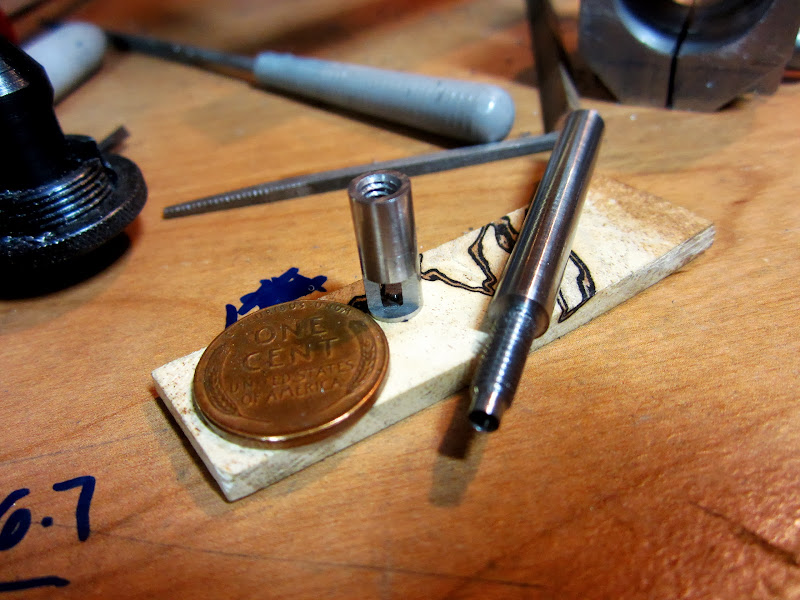
After cleaning up the opening through the lantern a bit with a tiny square file with a safety edge (visible in the background of the next couple of photos), I had something that was beginning to resemble a tool:

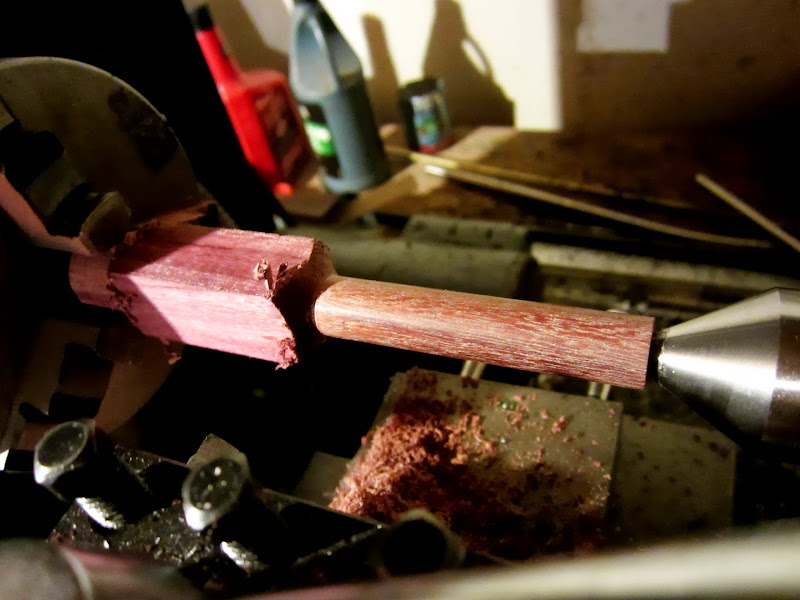
Now I needed to think about what to do for a handle. I pretty much avoid woodworking unless I'm feeling particularly adventurous. There was no way around it though, I needed to use some pretty hardwood that would contrast nicely with a brass ferrule. My oldest boy and I took a trip to Woodcraft and purple heart seemed to be the order of the day. This would be a tiny handle, so a pen blank was more than enough for this project. I had no idea purple heart was so cheap, the pen blank was less than $2. While we were there, my boy noticed the pen turning kits they had - his face lit right up and he said he wanted to make his own pen when he's older!
This is what I ended up with - I'll go ahead and call it a success!

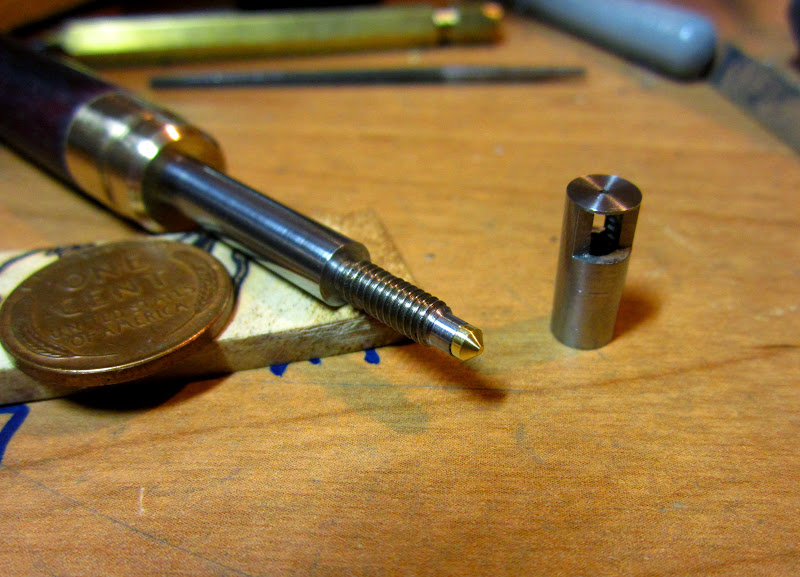
My next challenge was to find some brass for a ferrule. I thought I had some stock that would work but it was too small - I needed something in the neighborhood of 1/2". Some scrap that used to be the head of a small jeweler's hammer ended up being just the ticket. For that reason, there were some contours I couldn't quite turn down far enough in some areas so there are some imperfections. Nevertheless, I'm really happy with the way it turned out. I quickly filed a tapered square tang onto the end of the tool to be pressed into the handle. Before installing the handle, here's how things were looking:
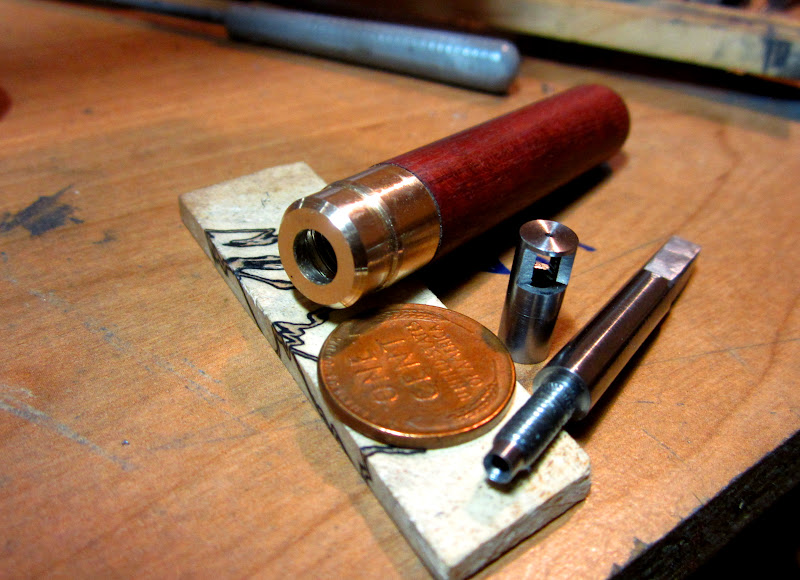
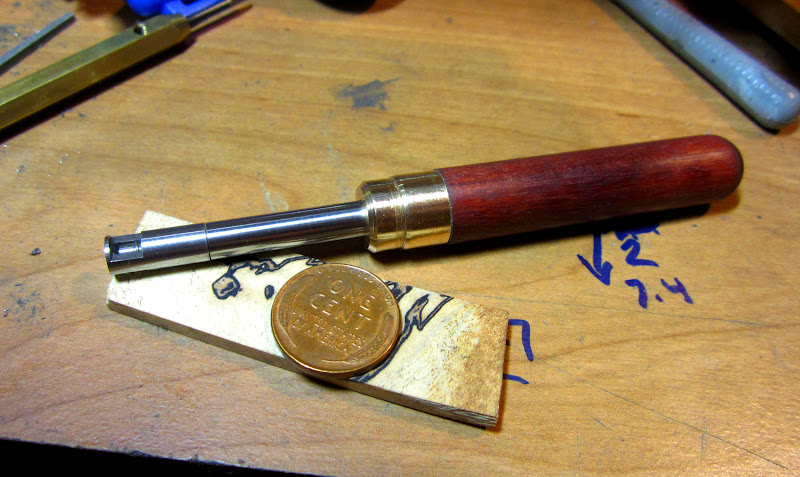
And here it is with the handle installed:
I now need to make a tiny point out of brass, to fit the pusher end of the tool (that will actually press against the head of the screw to hold it in place). I also need to make a couple more lanterns, and it looks like the 0.8mm one I already made will be the largest. The other 2 will be 0.4mm and 0.6mm.