Here are the parts, so far, with some finishing left to do and some parts still to make. The body was milled from cast iron, and all the other pieces are tool steel (O1 and A2):
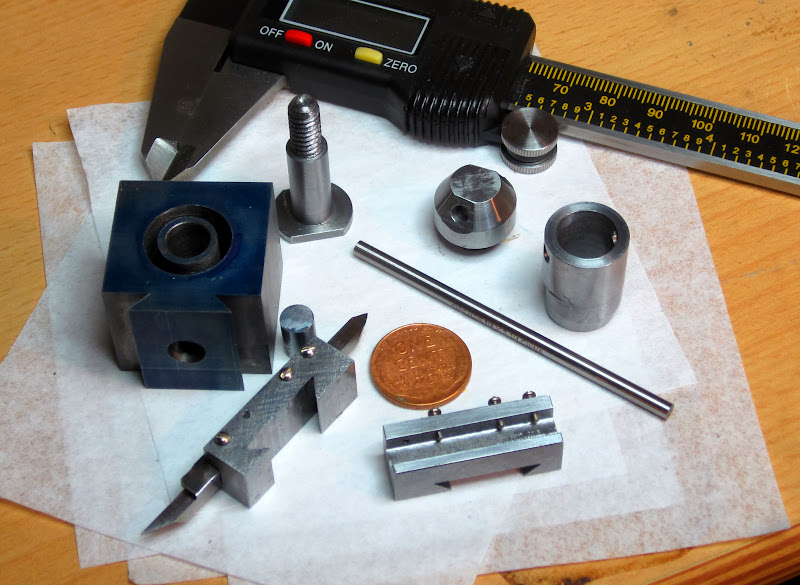
This was my first attempt at milling dovetails and it worked really well. I made up for that success by breaking off a drill bit in one of the tool holders and breaking off my M1.4 tap in the other.
I still have to make a retainer for the locking pin, the height setting mechanism for the tool holders, and finally will need to make a few more tool holders. I'll mill the dovetail in a single bar of stock and then just slice it up to make a small batch of holders.
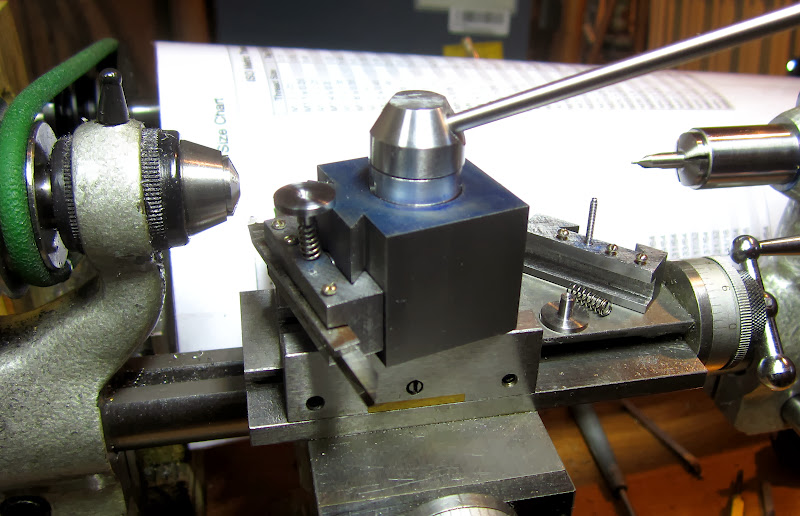
Everything is functional (though without repeatable height setting) and it sure is a lot more solid than the lantern I was using:
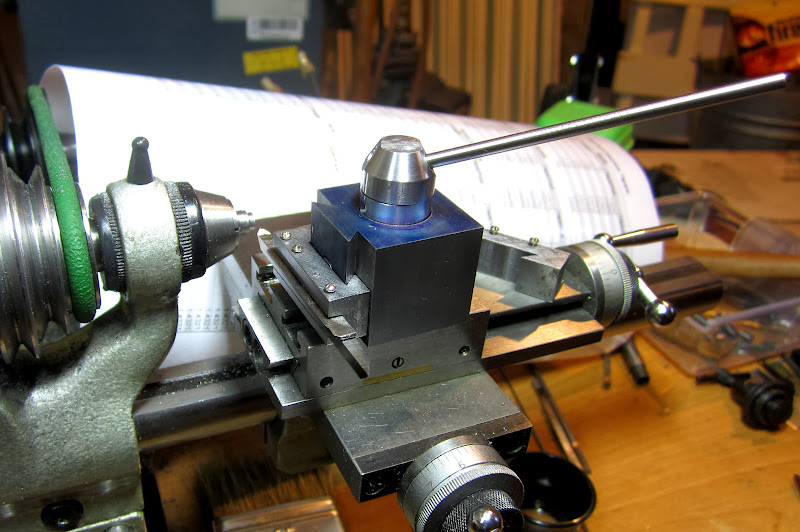
The top "nut" locks the post onto the top slide, and the collar underneath that locks the tool holders in place. I'm not going to have fixed handles on either of those, as handles just get in the way on machines this small. Instead I'll continue using that 1/8" round HSS blank as a tommy bar.
I'll post up more pics when it's completed!