Hi Guys. There are a few reasons for the silence on this project. I've had a few distractions like some vintage motorbike inspired bike projects, my section handcar build, the 1 1/2" scale ore tipple:
http://www.chaski.org/homemachinist/vie ... 33&t=99155 and there is one other little detail; my wife and I just had our first baby, a boy.

His first name is Ryden and his middle name is Zephyr.
The Plymouth has been sitting on the work table in my shop for months now but I must admit I have been thinking about it recently. It might be calling to me to get back on it. I do have small update today though for those of you that have been waiting to see more.
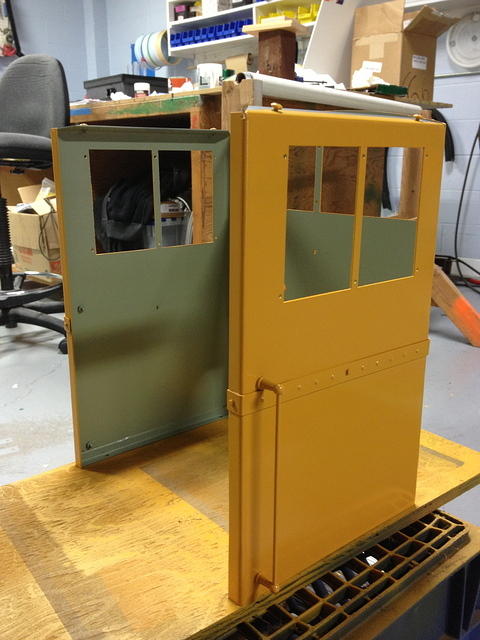
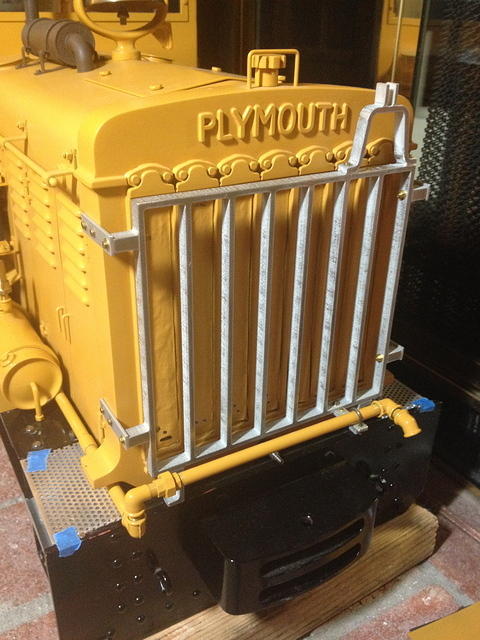
The cab has been painted. The exterior is "Old Equipment Yellow" and the interior is actually a military color. It is the same light green that was used in the cockpits of WWII aircraft. I thought it was a suitable looking color for a critter cab interior.
I decided to make working sander hatches. I will also be going one step further, when the sander hatches are opened you will be able to see sand inside but we'll get to that later.
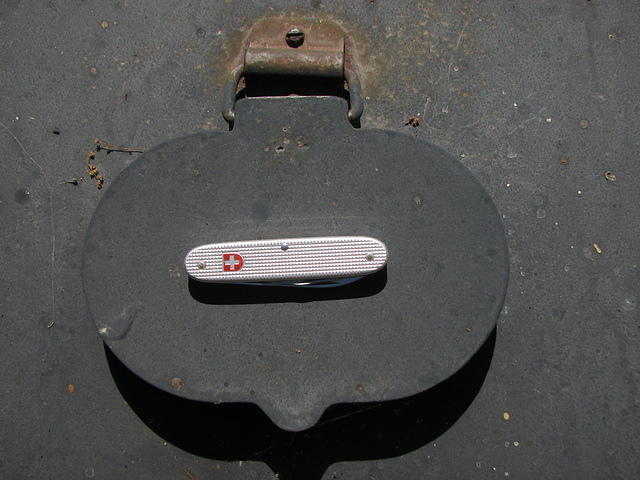
This is the prototype sander hatch as seen on Mission Cement #4.
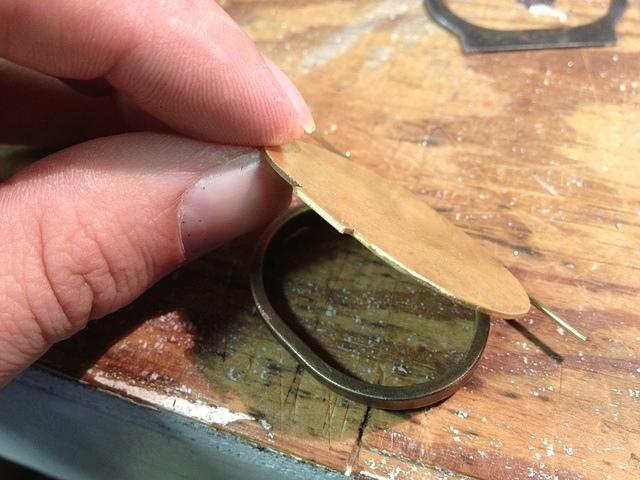
The hatches with working hinges were fabricated from brass.
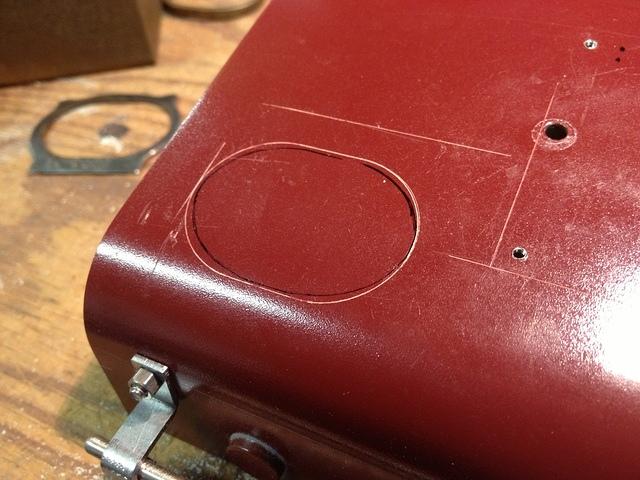
The location for the hatches is scribed into the hood. There are two hatches; one on either side of the hood, close to the front of the cab. I then opened up the holes for the hatches with a unibit, nibbler and files.
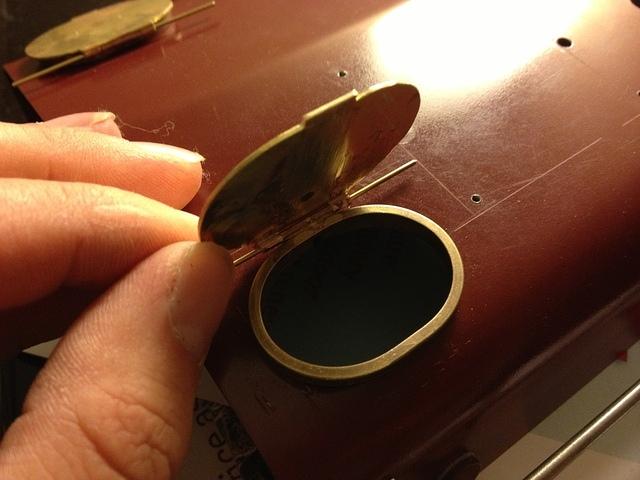
Here are the hatches all mocked up in place. They were JB welded in for the final installation.
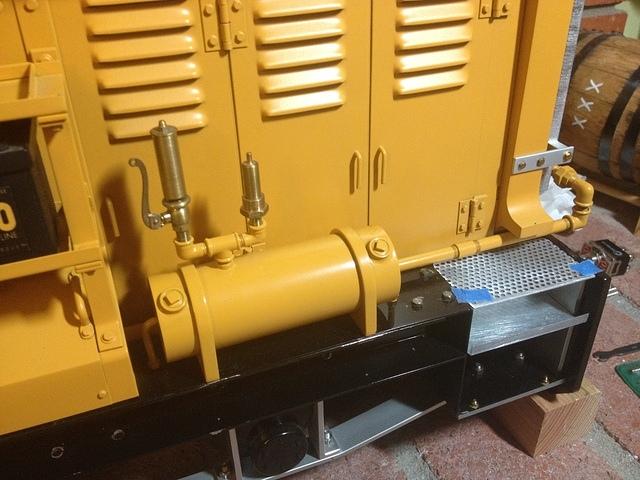
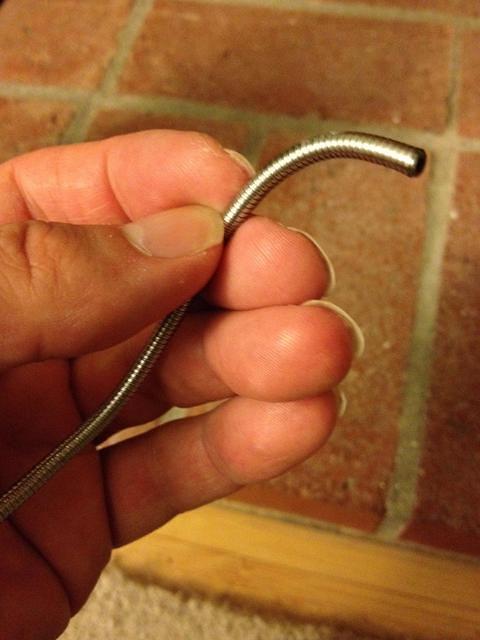
The stock Maxitrak came with a ridiculously small decorative "muffler" and exhaust pipe. The diameter of the pipe is only about 1/4" which is WAY too tiny. I began thinking about a new solution that would not only be more detailed but more appropriately scaled as well.
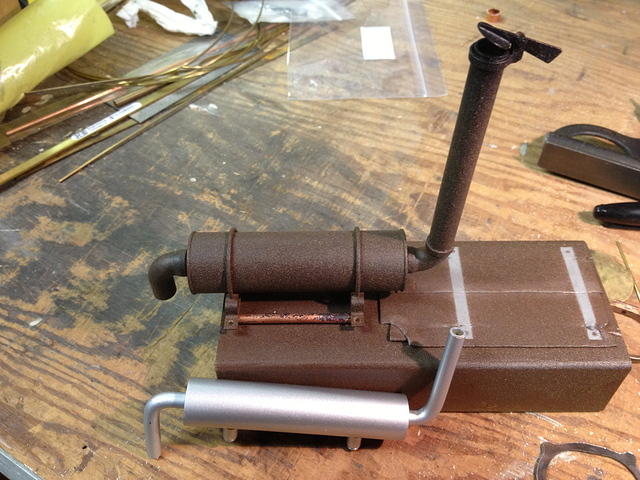
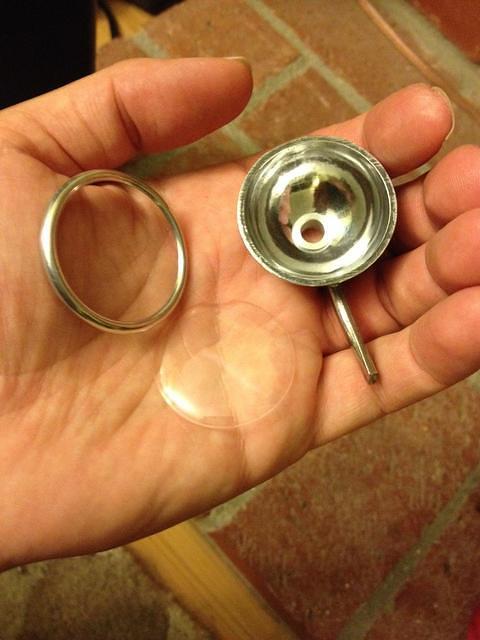
The original exhaust pipe and muffler is in front. The new one is in the back. The old one was attached to the hood with some simple standoffs. For the new one I fabricated some nice cradles and straps that secure the muffler. The new exhaust pipe is made from 3/8" copper pipe. The little tractor-style rain cap actually works. There is a magnet under the cap and one inside the exhaust pipe so the cap bonces a bit as I go down the track. The muffler is an aluminum turning. I am going to work a bit more on the finish of this part because I almost think I went overboard with the rustyness.
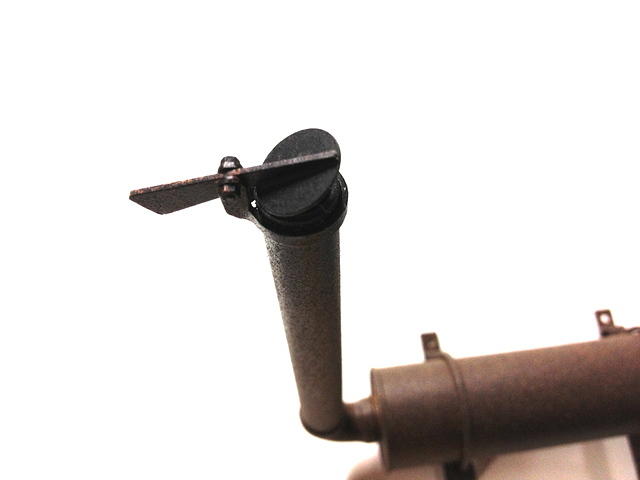
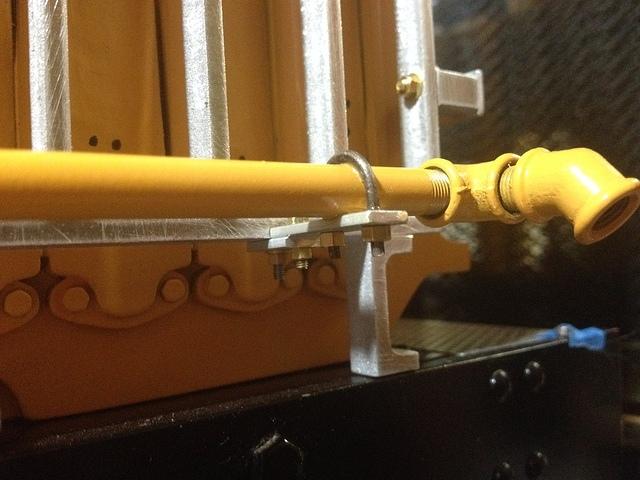
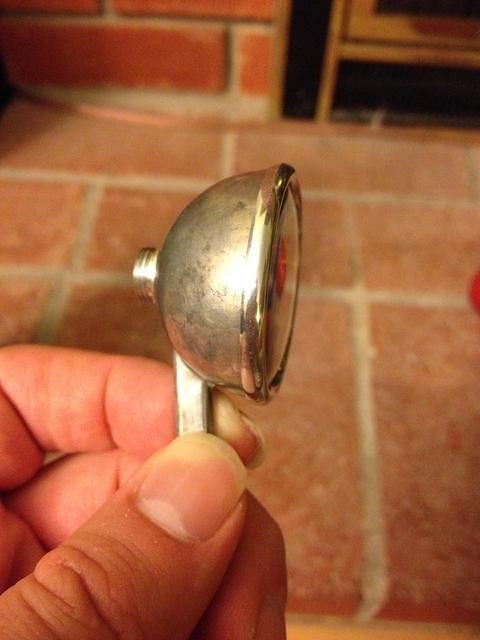
Here is a closeup of the rain cap.
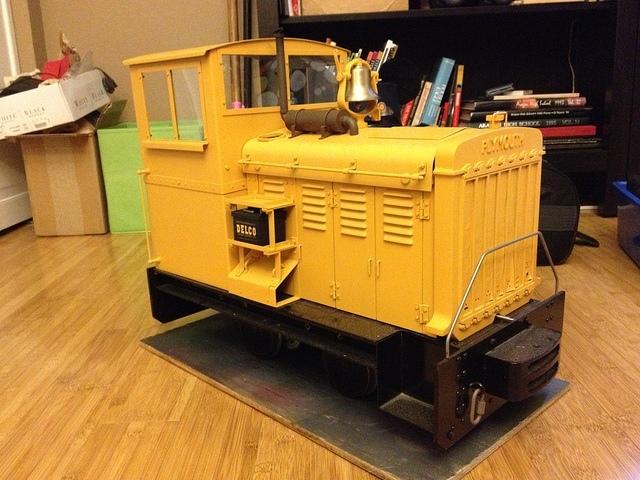
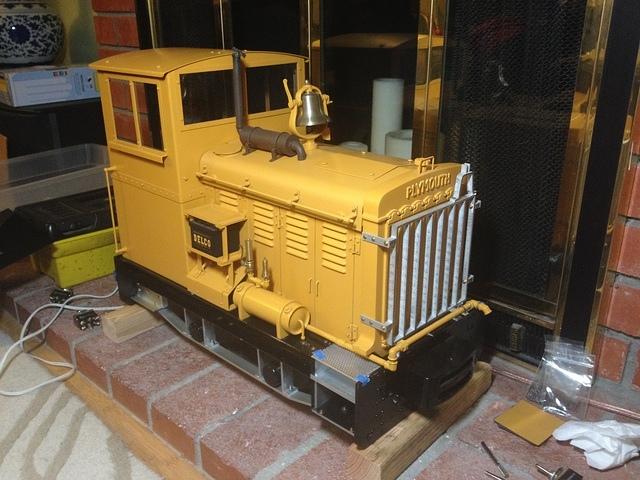
With the hood, radiator and cab getting close to finished I decided to put everything together for a quick mockup. There is still a LOT to do. I have lots of plans for detailing the chassis and even the cab interior.
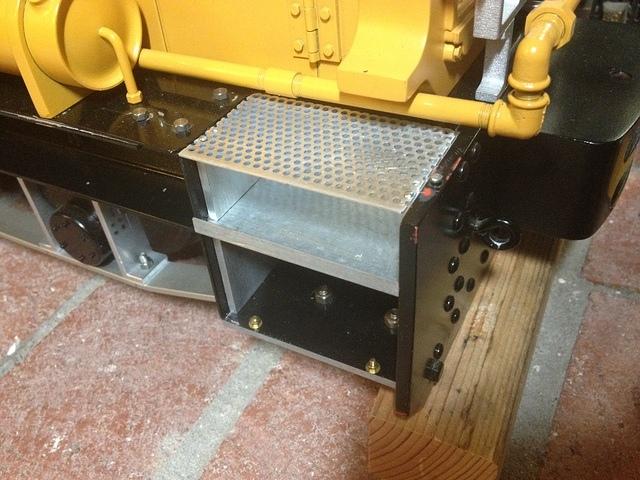
Okay, so, moving on. The next thing I did was work on starting the chassis details. My Plymouth pulls inspiration from various models in the Plymouth line. The chassis most resembles the TL series because they were smaller tonnages and were built up from steel plate instead of castings.
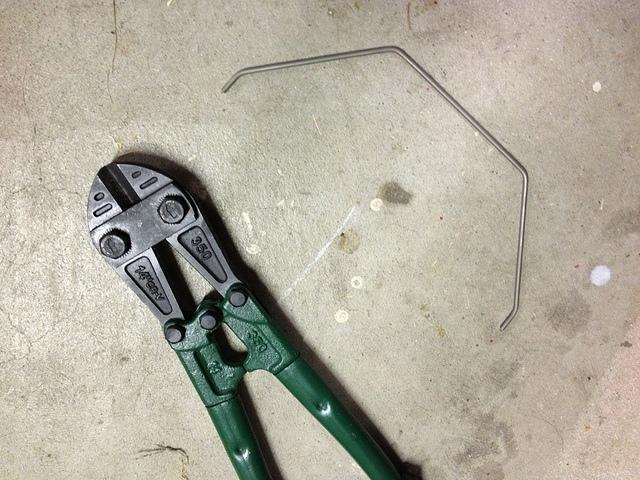
First order of business was to cut the bent steel wire radiator guard off.
Filing down the little stub left behind.
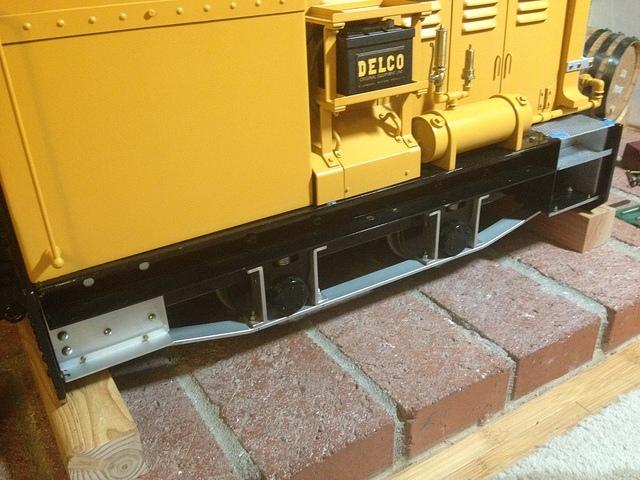
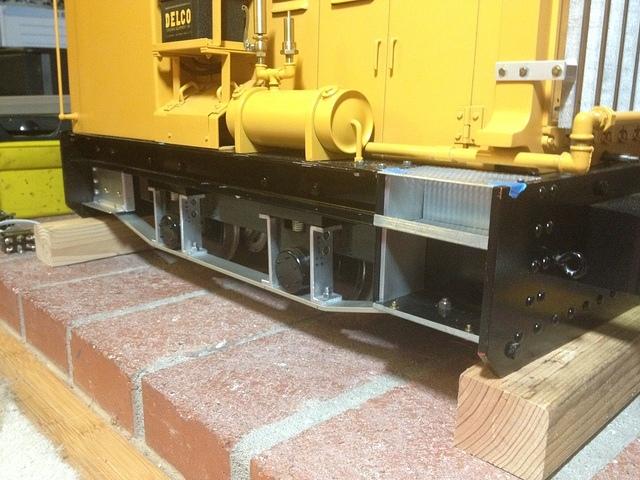
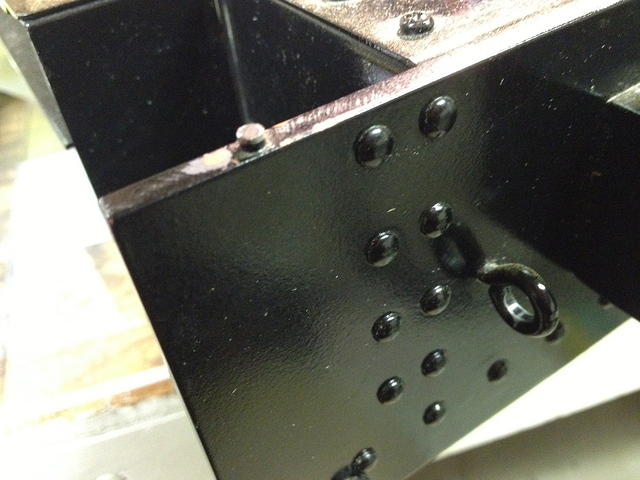
The TL Plymouths had a sort of "archbar" like steel strap that mounted under the axle journals that attached to the frame end plates. This picture shows my modified journals that will allow the archbar. I also added dummy suspension springs (the real springs are above the axles on the Maxitrak.)

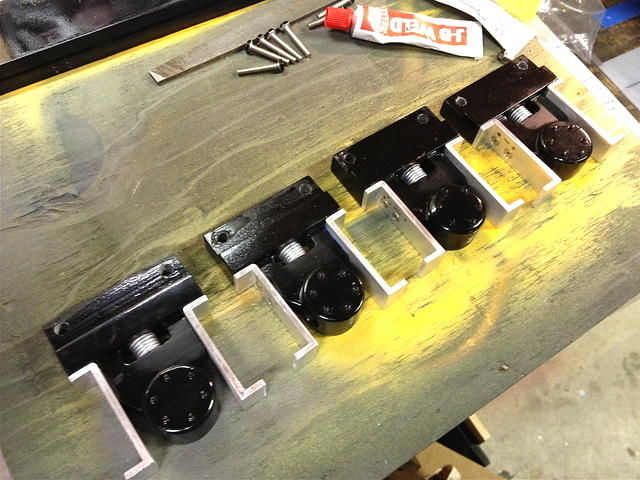
Closeup of one of the axle boxes. All these frame parts will be painted Old Equipment Yellow.

A quick mockup of the chassis with the newly modified axle boxes gives a sense of where we are headed. I still have to form the archbars.
Ok. So, that's the latest. I am feeling like I might dust this project off and get back into it. Might be something good to work on during Ryden's naps

Thanks for looking,
Regards,