this is what I did with a porous casting
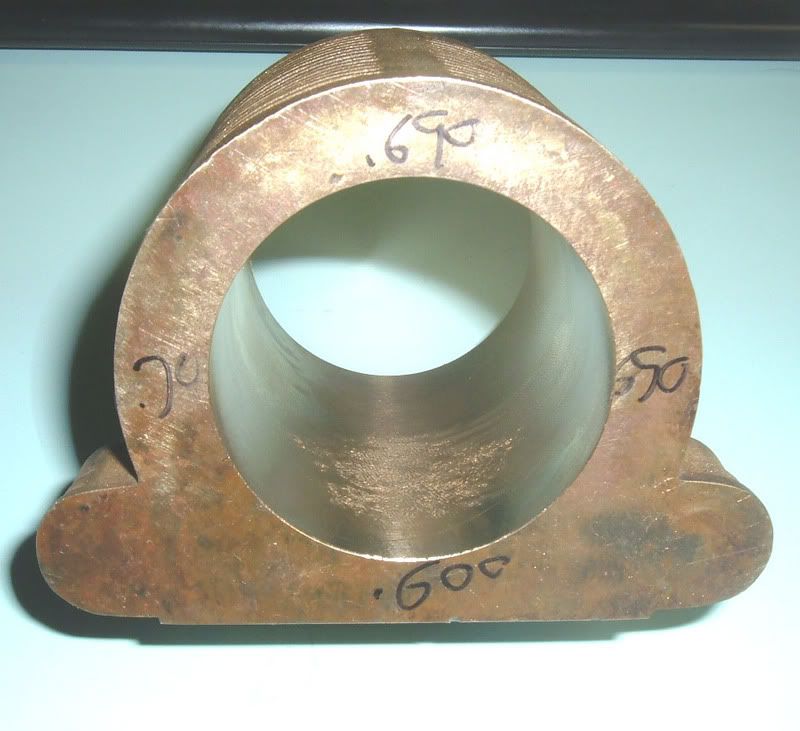
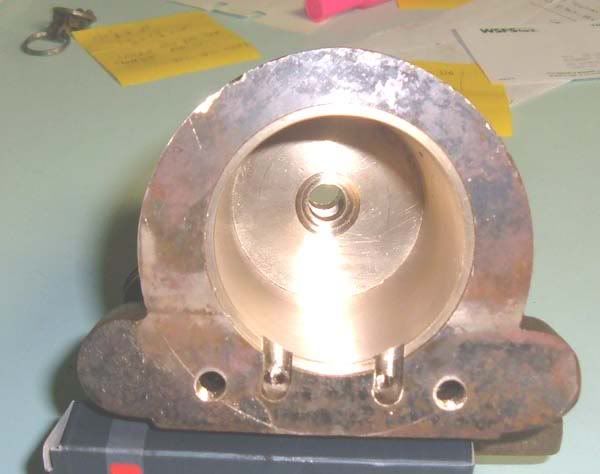

I didn't fool with locite for this, I just heated the casting and froze the sleeve and in it went.

Cost. You won't see the sleeve so it can be cast iron.Fred_V wrote:why cast iron for the sleeve? why not bronze? would it work to Loctite it in?


Sidetracked with other projects, such as my scratch built hopper carPipescs wrote:curious as to what happened here.


