
Years ago I bought one of those "hand tappers" from Enco, and it has really improved my life. Tap breakage went way down, and alignment is a breeze.
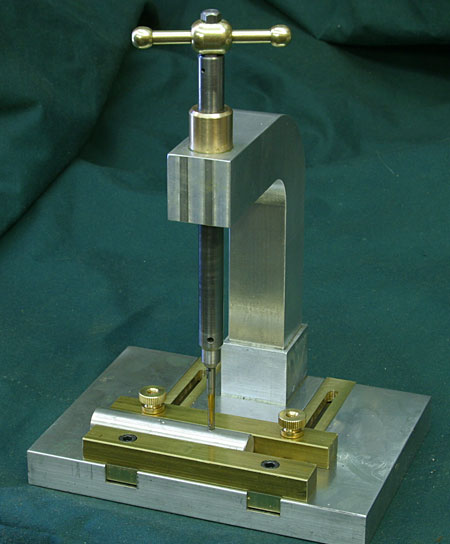
I've always wanted a miniature version for use with #4 and smaller taps, so I finally set about making one. Here's the result:
The little handle on top fits over a 1/4" hex shaft. It just drops in place, ready for use:
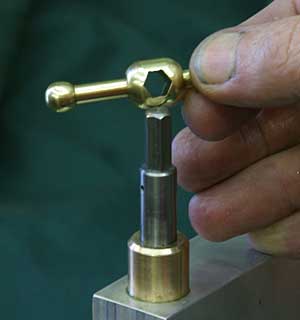
Once I run the tap all the way down, I can lift the handle off and speed the tap out with my cordless drill:

I can power tap, too, with the same drill in place.
The adjustable brass slider keeps things from rotating or moving too much as I go.


