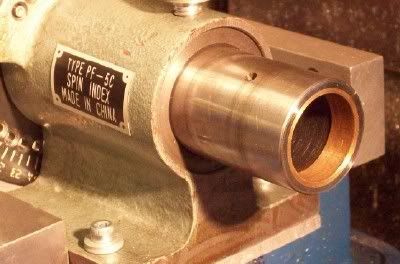
First, they must have 1/16 clearance between the spindle and drawbar. The threads on the collet have the job of centering the drawbar. I made a sleeve bearing that is pressed into the spindle the keeps the drawbar centered. The sleeve is Nothing fance and probably has .005 or .010 clearance on the drawbar. Much better than it was. The sleeve bearing could be made of a number of materials. Aluminum, steel, plastic.
Next, get rid of all the setscrews. The black ring between the drawbar and the cast iron base needs to go altogether. The black ring has one or two setcrews that is intended to take out the endplay of the spindle. They work okay until the 5C collet is loosened. But when the drawbar is tapped to loosen the collet the retaining ring moves so now there is endplay in the spindle again.
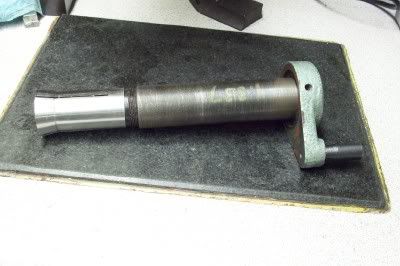
The crank on the drawbar is held in place with setscrews. I took some experimentation but I found a point where the drawbar tightens the collet. The drawbar crank is pulling against the spindle and the collet. Take the setscrews holes and drill and tap the setscrew hole through the drawbar so the drawbar crank can never move again unless the setscrews are removed. The setscrews double up as pins.
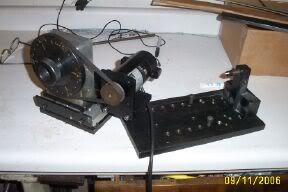
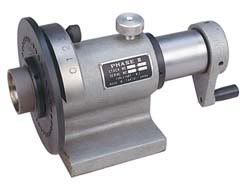
The indexing plate is held in place with a threaded ring. Remember it is possible for the indexing plate to move. Always use the little pin with the knurled head to lock the spindle through the bushing on top of the indexer so the collet can be tightened or loosened. Lock the spindle with the cast iron base.
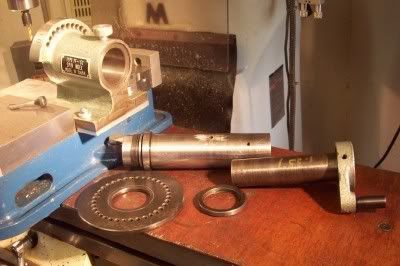
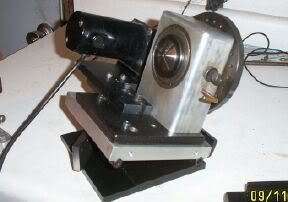
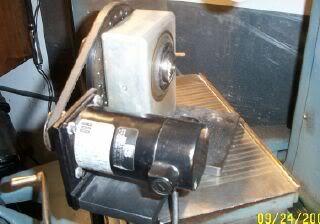
Finally, we still need to address the spindle endplay. I made a brass sleeve for the outside of the spin indexer spindle. I drilled through the sleeve and the spindle in two places and pinned the two together with rollpins.
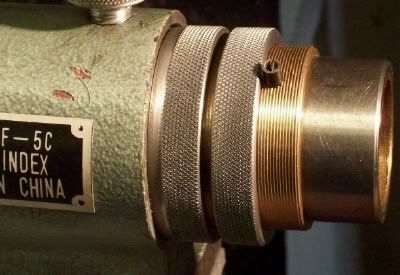
Next I threaded the sleeve. I do not recall the OD but the pitch was 32 TPI. I machined the threads on my lathe and checked them for depth with thread wires. Then I took two steel rings and knurled the outside and threaded the inside to mate with the threads on the brass sleeve. One threaded ring adjusts the endplay on the spindle and the second ring locks the first ring in place
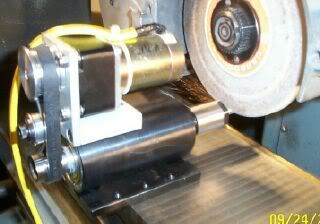
The spin indexer is now dependable and a pleasure to use.
Hope this was of interest,
Jim