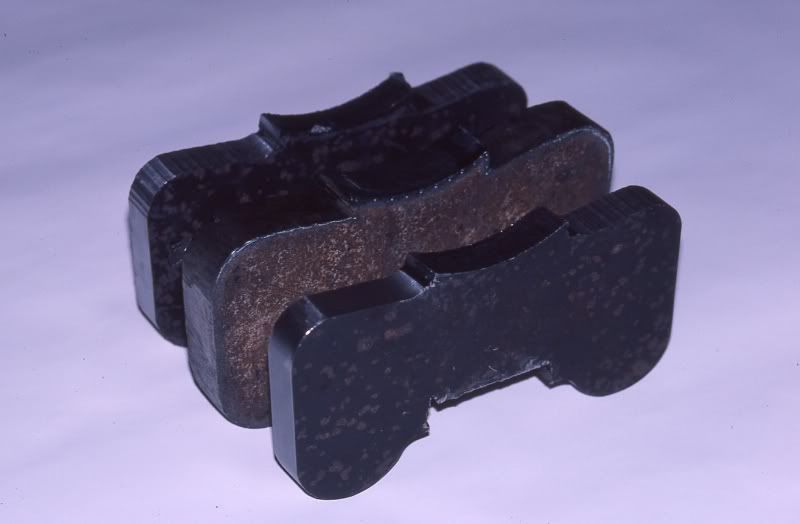
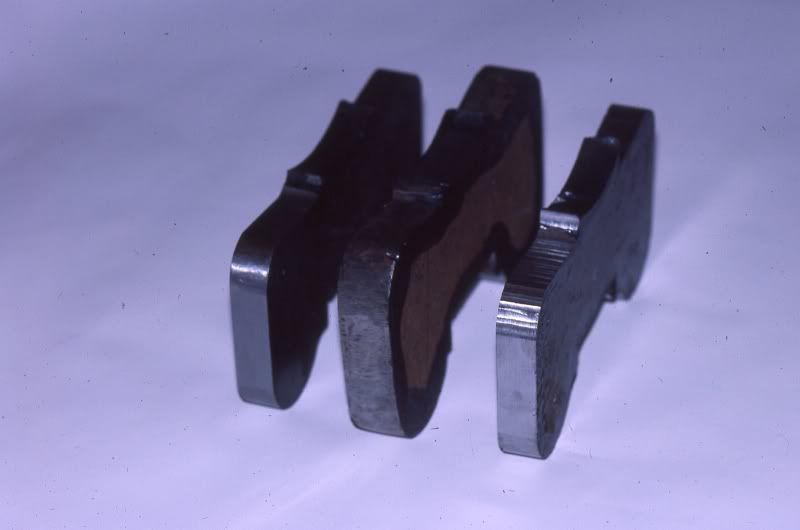
This is my double poppet throttle, as best I can remember from 1970's memory.....
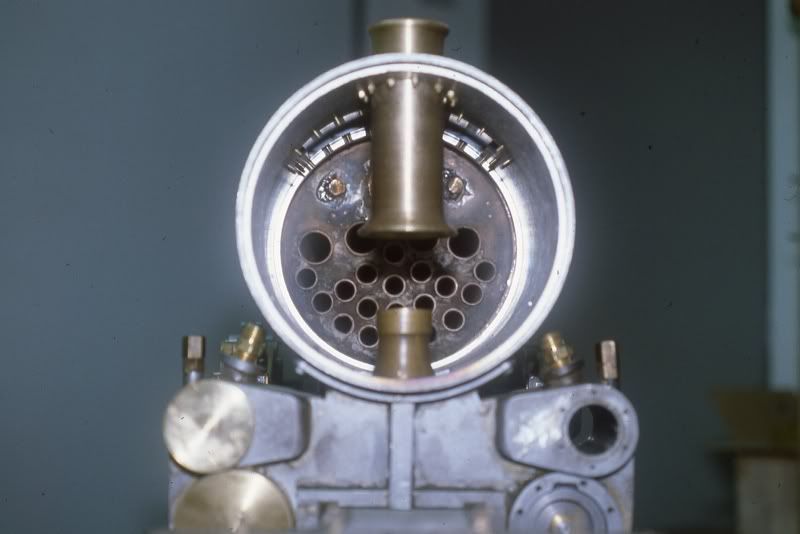
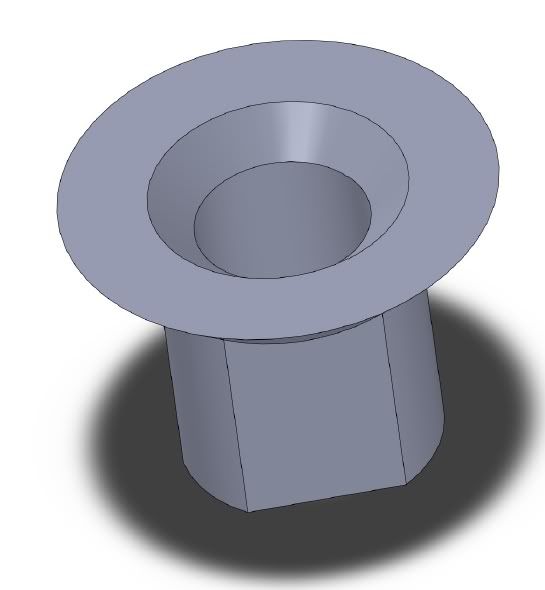
I built the boiler to mount the 'head' to a couple of studs, protruding flange and o-ring.
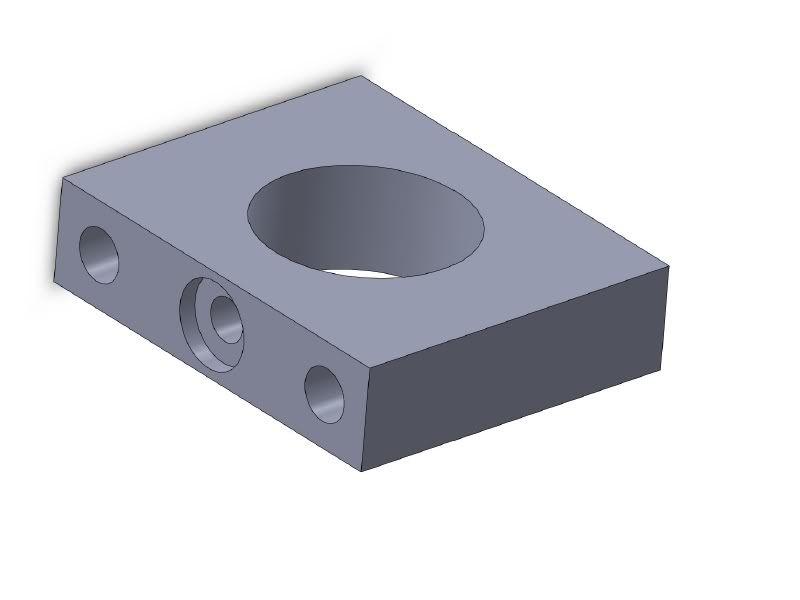
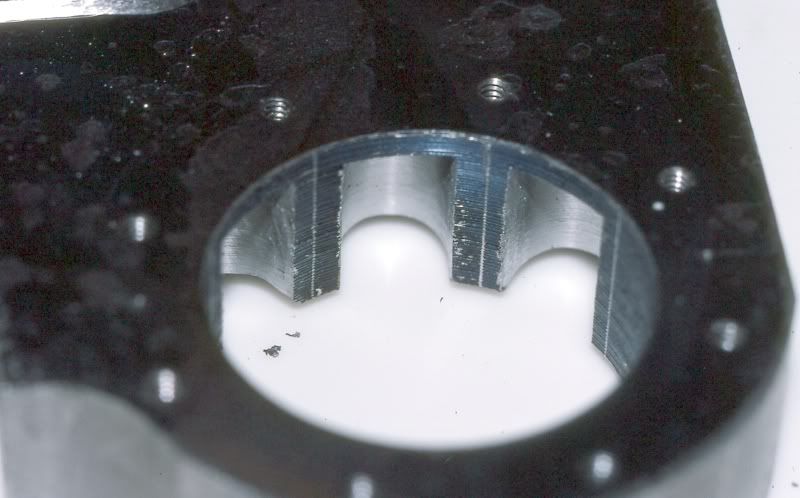
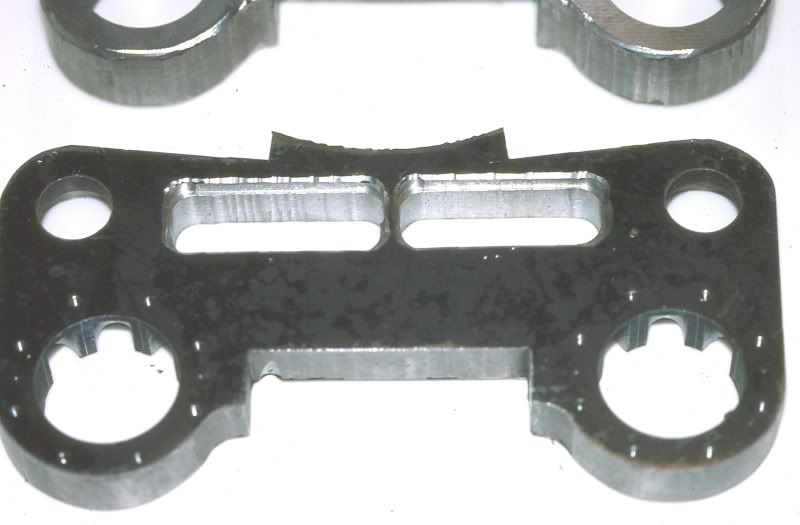
The head solders to the body, the rest drops in:
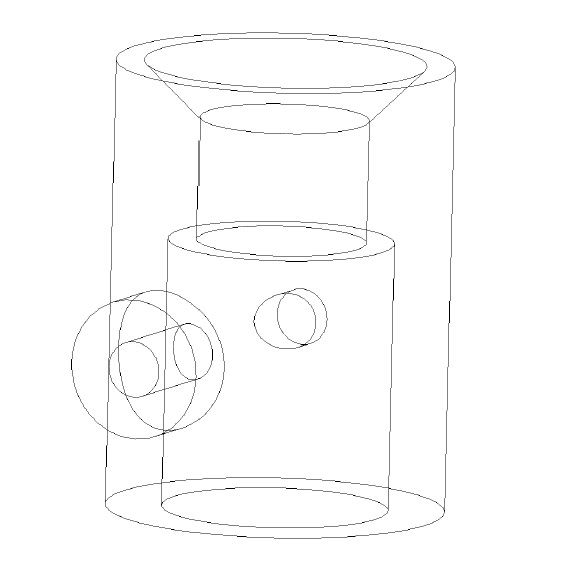

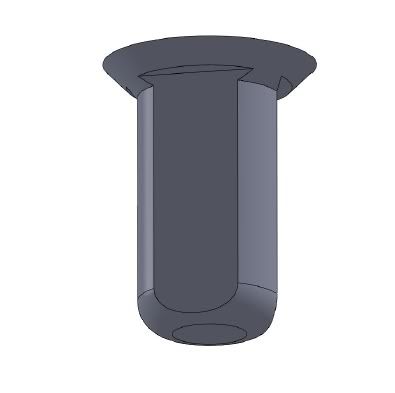
Make a cover for the head, and come out the bottom or bottom /side as fits.
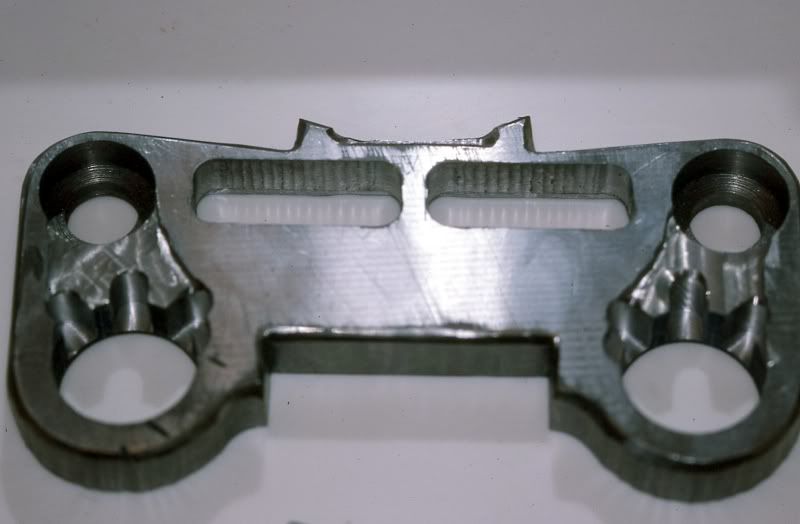
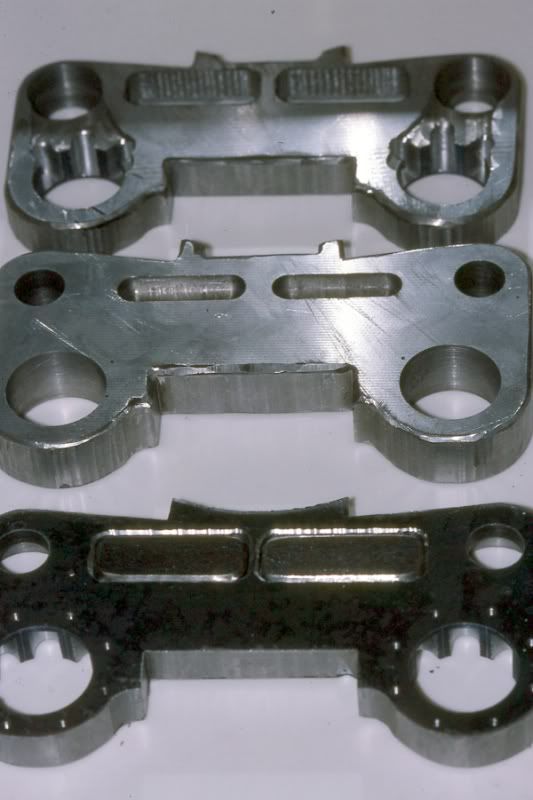
cam is also self-explanatory, to go though the smokebox cover with an extension.
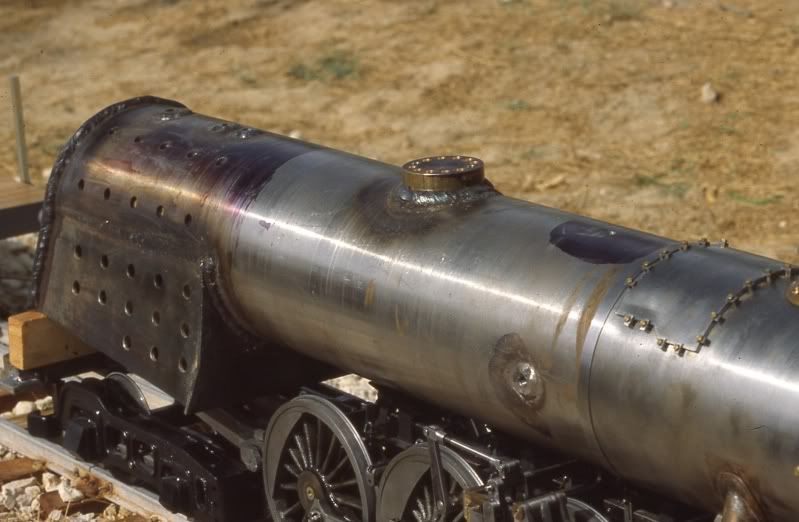
The boiler doesn't have much of a steam dome, but it is there, Priming isn't a problem, nor is lack of 'superheater'
Yes, the camshaft assembles with a set screw - don't silver solder it together unless you are really creative at assembly time.
I used a packing gland with graphoil packing.
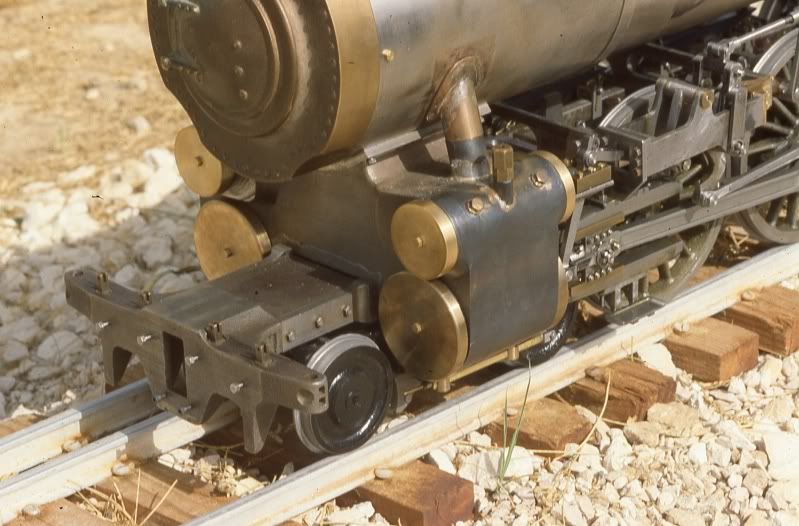
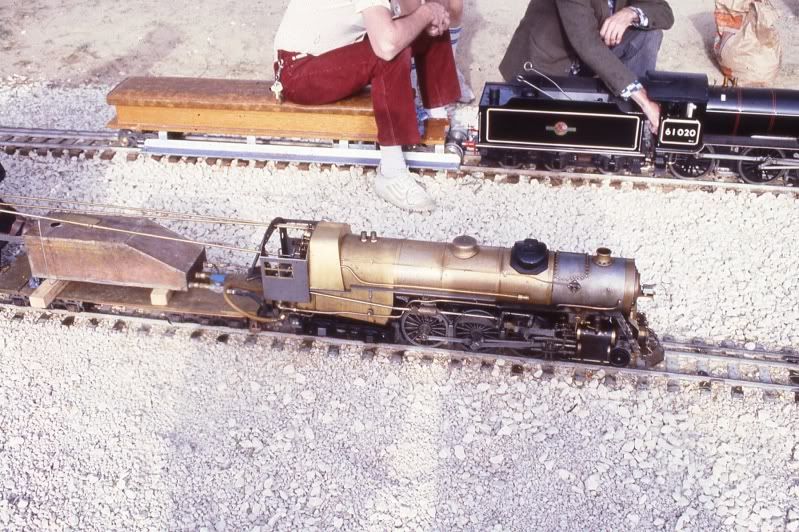
Here it is early outing, no paint...
The small poppet makes for very easy opening, controlled starts. By the time you get to the main valve, she's really rolling and you better hang on. I very RARELY get to that stage, unless hauling a load up hill.