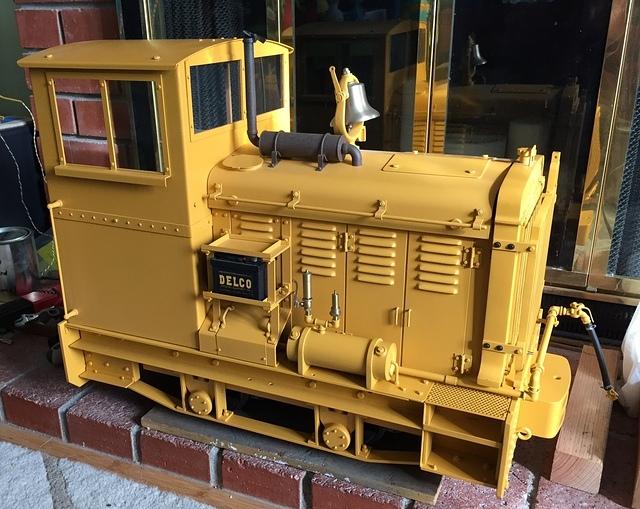
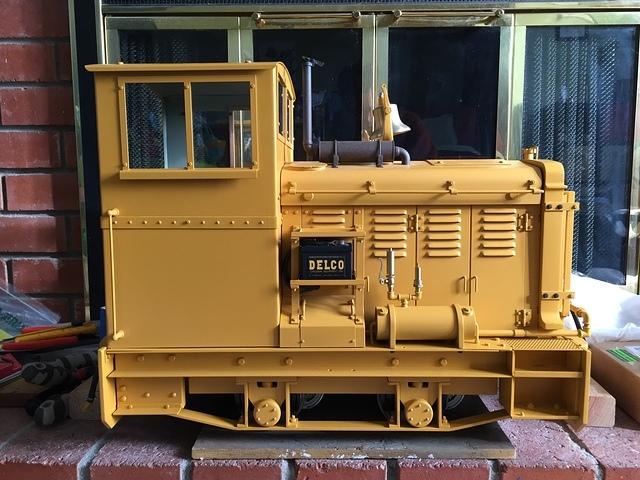
Now I will have to make some concessions to practicality here but I want a "user interface" that has the character of a real Plymouth. I have enlisted the help of my friend Dennis again because he has a CNC milling machine that will come in handy for this. The plan is to make scale brake, reverser and throttle levers. I will also be adding clutch and sander levers as decorative details. There will also be small switches for the head lamp, air compressor and horn. Other details will include the transmission cover, bearing caps, gasoline tank and possibly oil pressure and volt gauges. All of this will be configured with consideration given to the actual layout of controls in the cab of a Plymouth.
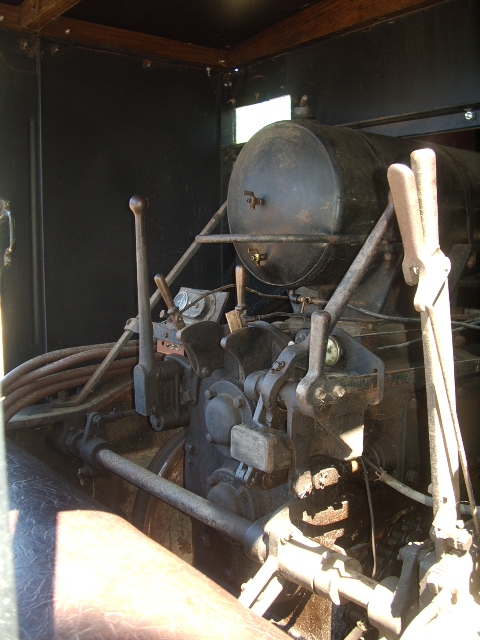
I thought long and hard about how to do this cab interior. The problem is that this is a battery powered locomotive being made to look like a gasoline loco with a mechanical transmission. The cab interiors of these early Plymouth locomotives were strictly form-follows-function. There were lots of exposed linkages, reach rods, etc. A misplaced footsetp might land you right in the chain drive
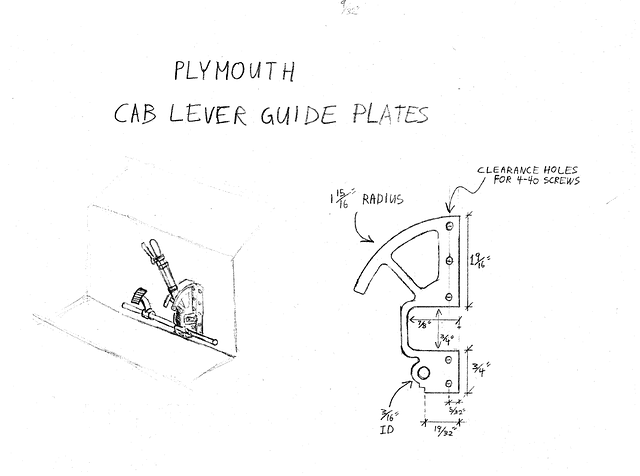
Sketch showing a concept doodle of the brake lever on the left and a scale drawing of the lever guide plate on the right.
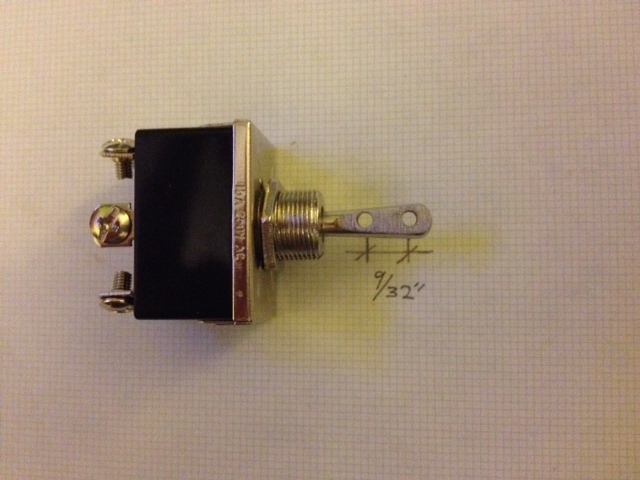
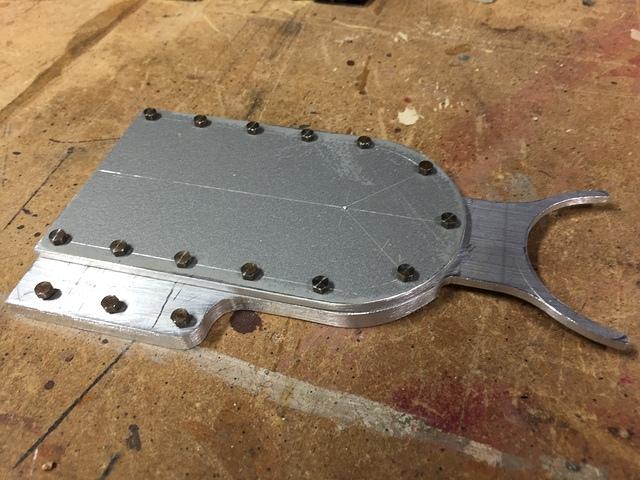
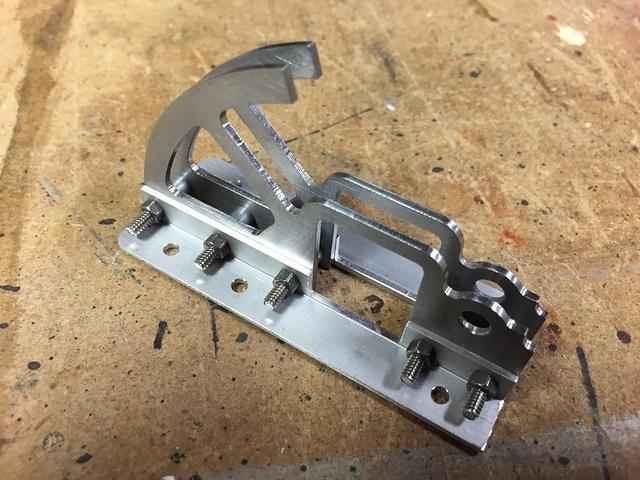
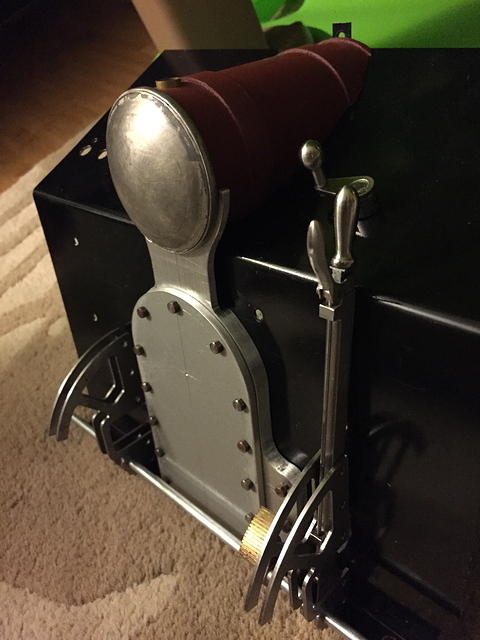
The brake and reverser use 15 amp toggle switches like this. This switch has been modified to allow a lever extension to be bolted to it. As you can see in the sketch above, I plan on mounting these switches to a vertical surface. When extension levers are attached to the switches, particularly in this orientation, they could flop side to side, hence the need for the guide plates. As a bonus, the guide plates add some of that mechanical interest to the controls.
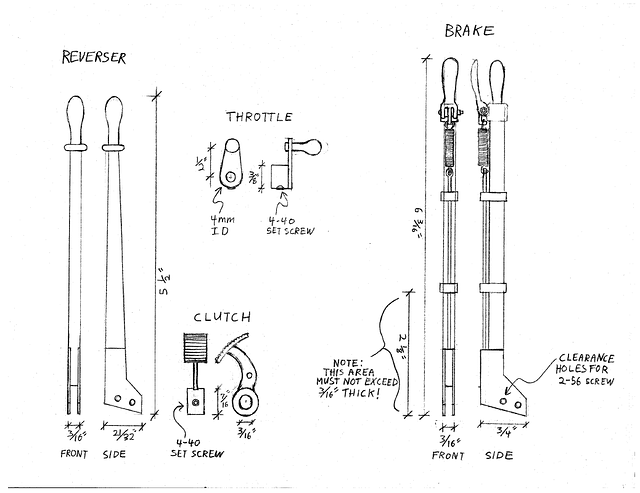
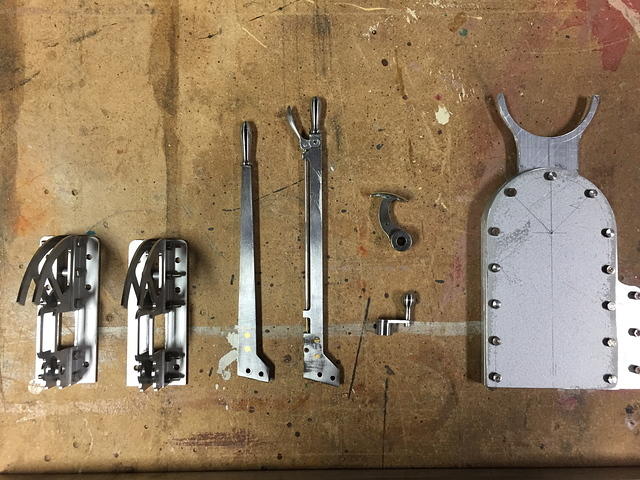
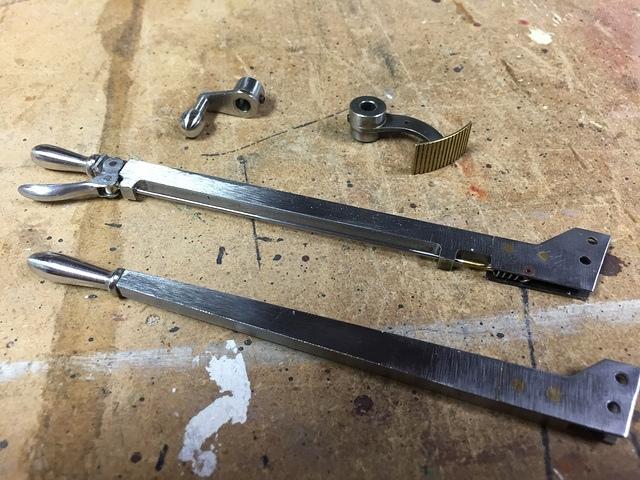
Here are the designs for the cab levers.
The levers and guide plates have already been drawn up in Autocad for conversion to G-code for the CNC. The contoured handles will be be turnings.
So that's the latest. I have a huge work deadline this week. I hope to start getting the chassis prepped for paint after that storm has passed.
Thanks for checking in!