Construction Pictures of 4" Mill Vise

The Photo Album is a place for "Shop Shots" as well as pictures and descriptions of projects that we are working on. Show off your Shops, Machines, and your Projects!

Moderator: Harold_V

JackF
Posts: 1617
Joined: Mon Jan 26, 2009 3:56 pm
Location: Caldwell, Idaho

Re: Construction Pictures of 4" Mill Vise

Post by JackF »

Hi Frank,

Got the jpegs, worked great. Opened them up in Photo Shop, inverted them from white on black to black on white (to save black ink :lol: ) then printed them out. Thanks.

Jack.

P.S. Keep up with the pics, adds more clarity for us novices.

Jack.
User avatar
Hawk99
Posts: 190
Joined: Wed Dec 02, 2009 7:04 pm
Location: EDDY, TX

Re: Construction Pictures of 4" Mill Vise

Post by Hawk99 »

Jack,

Will do, even though I am a novice myself. I kind of have a general idea about machining, but lack the skills and experience to do things the most efficient way. And then there is my equipment, not the best for precision work. I can sneak up on measurements, but when it comes to production or repeatability, I am at a great disadvantage. I look to this forum to learn from those with the proper tools and experience.

I wanted to convert the drawings off the black background, but spent too much time trying to convert to pdf without having to pay for it. Glad to see you were able to do that.

thanks,

Frank
User avatar
Hawk99
Posts: 190
Joined: Wed Dec 02, 2009 7:04 pm
Location: EDDY, TX

Re: Construction Pictures of 4" Mill Vise

Post by Hawk99 »

The Final Chapter,
The nut carrier was and is the most difficult part of this vise. It started as 2" round and finished as a mess. The acme nut is round and was purchased from McMaster Carr along with the lead screw. It has two 1/4" bosses on each side that rides in two slots in the ways towers and is designed to pull up against the top of the slot to hold down the movable jaw when tightening.

Image

The dovetail rides in the movable jaw dovetail to apply the downward force when clamping. The slight rise I currently have in the jaw is due to the height of the nut carrier dovetail. I will shorten the height to help keep the jaw down.

Image

To lower the dovetail, I will machine off the height and to keep the same profile, I will narrow the neck. I have not done that yet, as the vise is working quite well as is.

Image

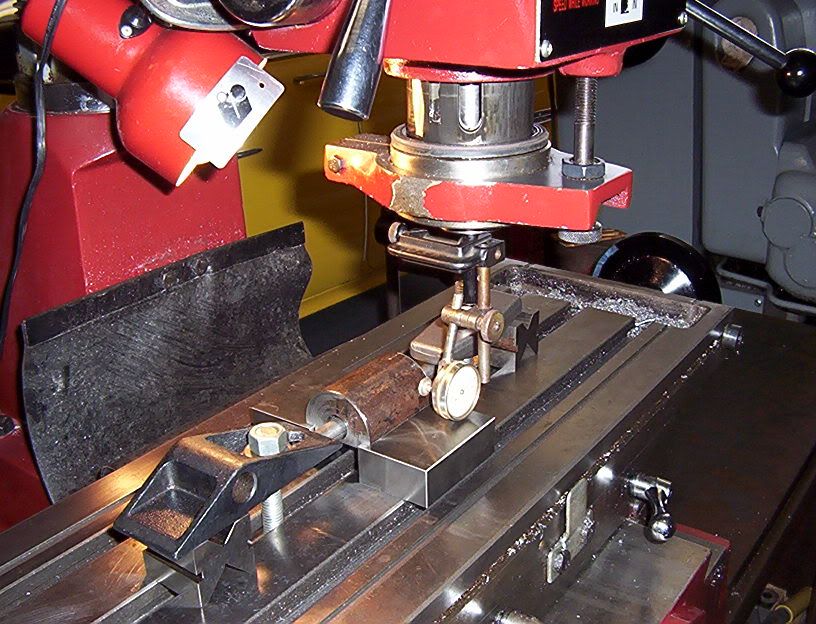
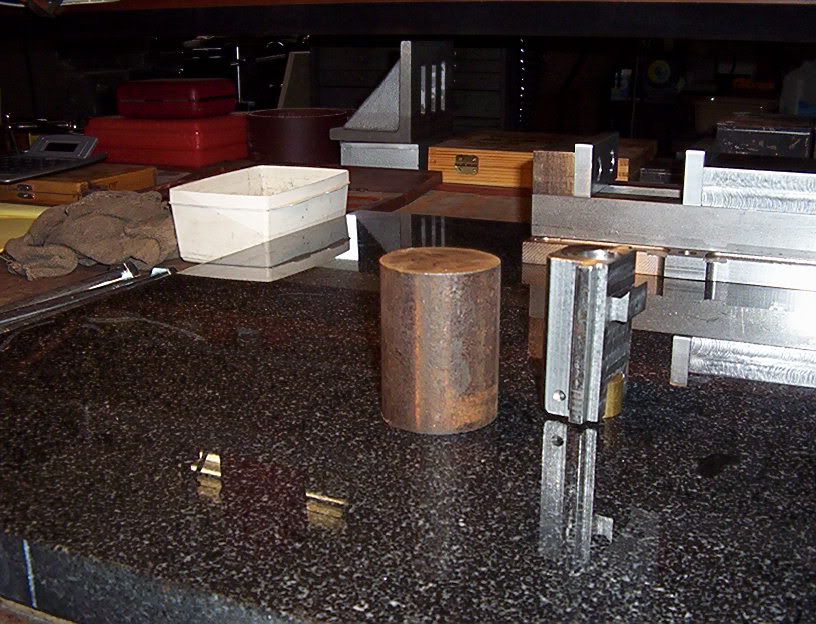
Without a good vise, I had to hold the part anyway I could. Drilled the hole first, then machined the flat top, then turned it over and rested it on two 123 blocks with a 5/8 bar through it. Best I could think of.

Image

The brass nut is held in with three "dog end" set screws. The nut above the carrier rides in the relief machined into the movable jaw. To assemble the unit, the movable jaw and nut carrier are assembled, the set screw in the jaw is moved in to hold them together. Then with the fixed jaw removed, the unit is slid into the way slots and the lead screw is turned bringing the unit into the vise. When it is on, the fixed jaw is re-assembled.

Voile, a mill vise.

Its been fun and challenging, but maybe what I learned means I won't have to do another. Its like child birth I think, after the pain is gone, I will forget and build another.

Frank
JackF
Posts: 1617
Joined: Mon Jan 26, 2009 3:56 pm
Location: Caldwell, Idaho

Re: Construction Pictures of 4" Mill Vise

Post by JackF »

Thanks Frank,

Beautiful job and excellent photo documentation. I have most of the materials on hand, just need to find the time. Darn home projects. :evil: :evil: :lol:

Jack.
User avatar
Hawk99
Posts: 190
Joined: Wed Dec 02, 2009 7:04 pm
Location: EDDY, TX

Re: Construction Pictures of 4" Mill Vise

Post by Hawk99 »

Jack,

If you embark on this project, remember that dimensions need to match how you build it. Ask if you have questions and good luck with the process. It really was fun. There may need to be some heat treating on some of the parts, but I am not going to do that until I have trouble in that area.

Frank
JackF
Posts: 1617
Joined: Mon Jan 26, 2009 3:56 pm
Location: Caldwell, Idaho

Re: Construction Pictures of 4" Mill Vise

Post by JackF »

Hi Frank,

By now you must have used the vice. Just wondering how good it is at not raising the part when clamping tight. I don't own a Kurt but the ones I have used in another shop still raised the work some and I had to tamp the work down to sit flat. Maybe they were worn out. :?:

Jack.
User avatar
Hawk99
Posts: 190
Joined: Wed Dec 02, 2009 7:04 pm
Location: EDDY, TX

Re: Construction Pictures of 4" Mill Vise

Post by Hawk99 »

Jack,

Yes it raises the part. I am going to remove the nut carriage and machine the angle lower to see if that will help. I am using it and am pleased with it so far. I still tap the part down and would like to not do that. When I originally tested it was with a parallel at the bottom of the jaw. It barely raised at all. When I first clamped a larger piece above the ways, it raised more. I will let you know it that works or not.

Frank
Post Reply