Discuss park gauge trains and large scale miniature railways having track gauges from 8" to 24" gauge and designed at scales of 2" to the foot or greater - whether modeled for personal use, or purpose built for amusement park operation or private railroading.
Forum rules
Topics may include: antique park gauge train restoration, preservation, and history; building new grand scale equipment from scratch; large scale miniature railway construction, maintenance, and safe operation; fallen flags; track, gauge, and equipment standards; grand scale vendor offerings; and, compiling an on-line motive power roster.
rkcarguy wrote:Well I'm still alive, I ended up having to have surgery and a stint put in my kidney tube. "It burns burns burns, the ring of fire" is an understatement!
Ouch! Of course, the real pain will come when you get the medical bills.
Would it be better to have it mounted behind the grille up front where it will get air, or back by the engine closest to the pump, but would be near the exhaust?
The shorter the suction line to the pump the better. Long suction lines are trouble, especially when the oil gets hot. You don't want the pump pulling a partial vacuum on the suction line, as cavitation will set in and cause a major loss of pump efficiency, as well as possible damage to the pump.
Also, I think the pumps fluid intake will be higher than the bottom of the tank, unless I make the tank a shorter height and mount it on legs on the frame? I may sub-frame under the whole locomotive body anyway for more mounting points for it and hose-pipes-accessories, so not a big deal.
As long as the oil level in the tank is at least six inches above the tank's suction port and the pump doesn't have to pull the oil "up hill" you should be okay. Anything less and the pump might suck a "hole" in the oil and draw air.
———————————————————————————————————————————————————————
Music isn’t at all difficult. All you gotta do is play the right notes at the right time!
Yes I'm not looking forward to that part. Thankfully I have a pretty good plan and I've selected the higher tier of the two from work that costs a little more a month but is a lower copay, ER visits are not applied to deductible as long as admitted, and I think the hospital stays and surgery will be covered 90%. At the cost of things though, it could certainly still hurt the wallet we'll see what happens.
Ok, it sounds like I'll need to make a top mounted tank just to be safe and mount it back near the engine. I'll have to sneak the exhaust past it somehow, maybe make a double layered rock wool insulated exhaust pipe as it passes the tank and make a shallower, longer tank and offset it to the right. I think at that point the tank can feed straight down into the pump. The exhaust will exit to the left and the S12's stack is to the left, so that will work pretty well.
The laser cutter is booked out a bit on my wheel parts, so I think I'm going to tackle building a turnout next and a switch stand. Anyone have any idea of the turnout position indicator used by The Milwaukee Road? I'm seeing several styles online, the red white striped chevron type seems to be the one that comes up the most.
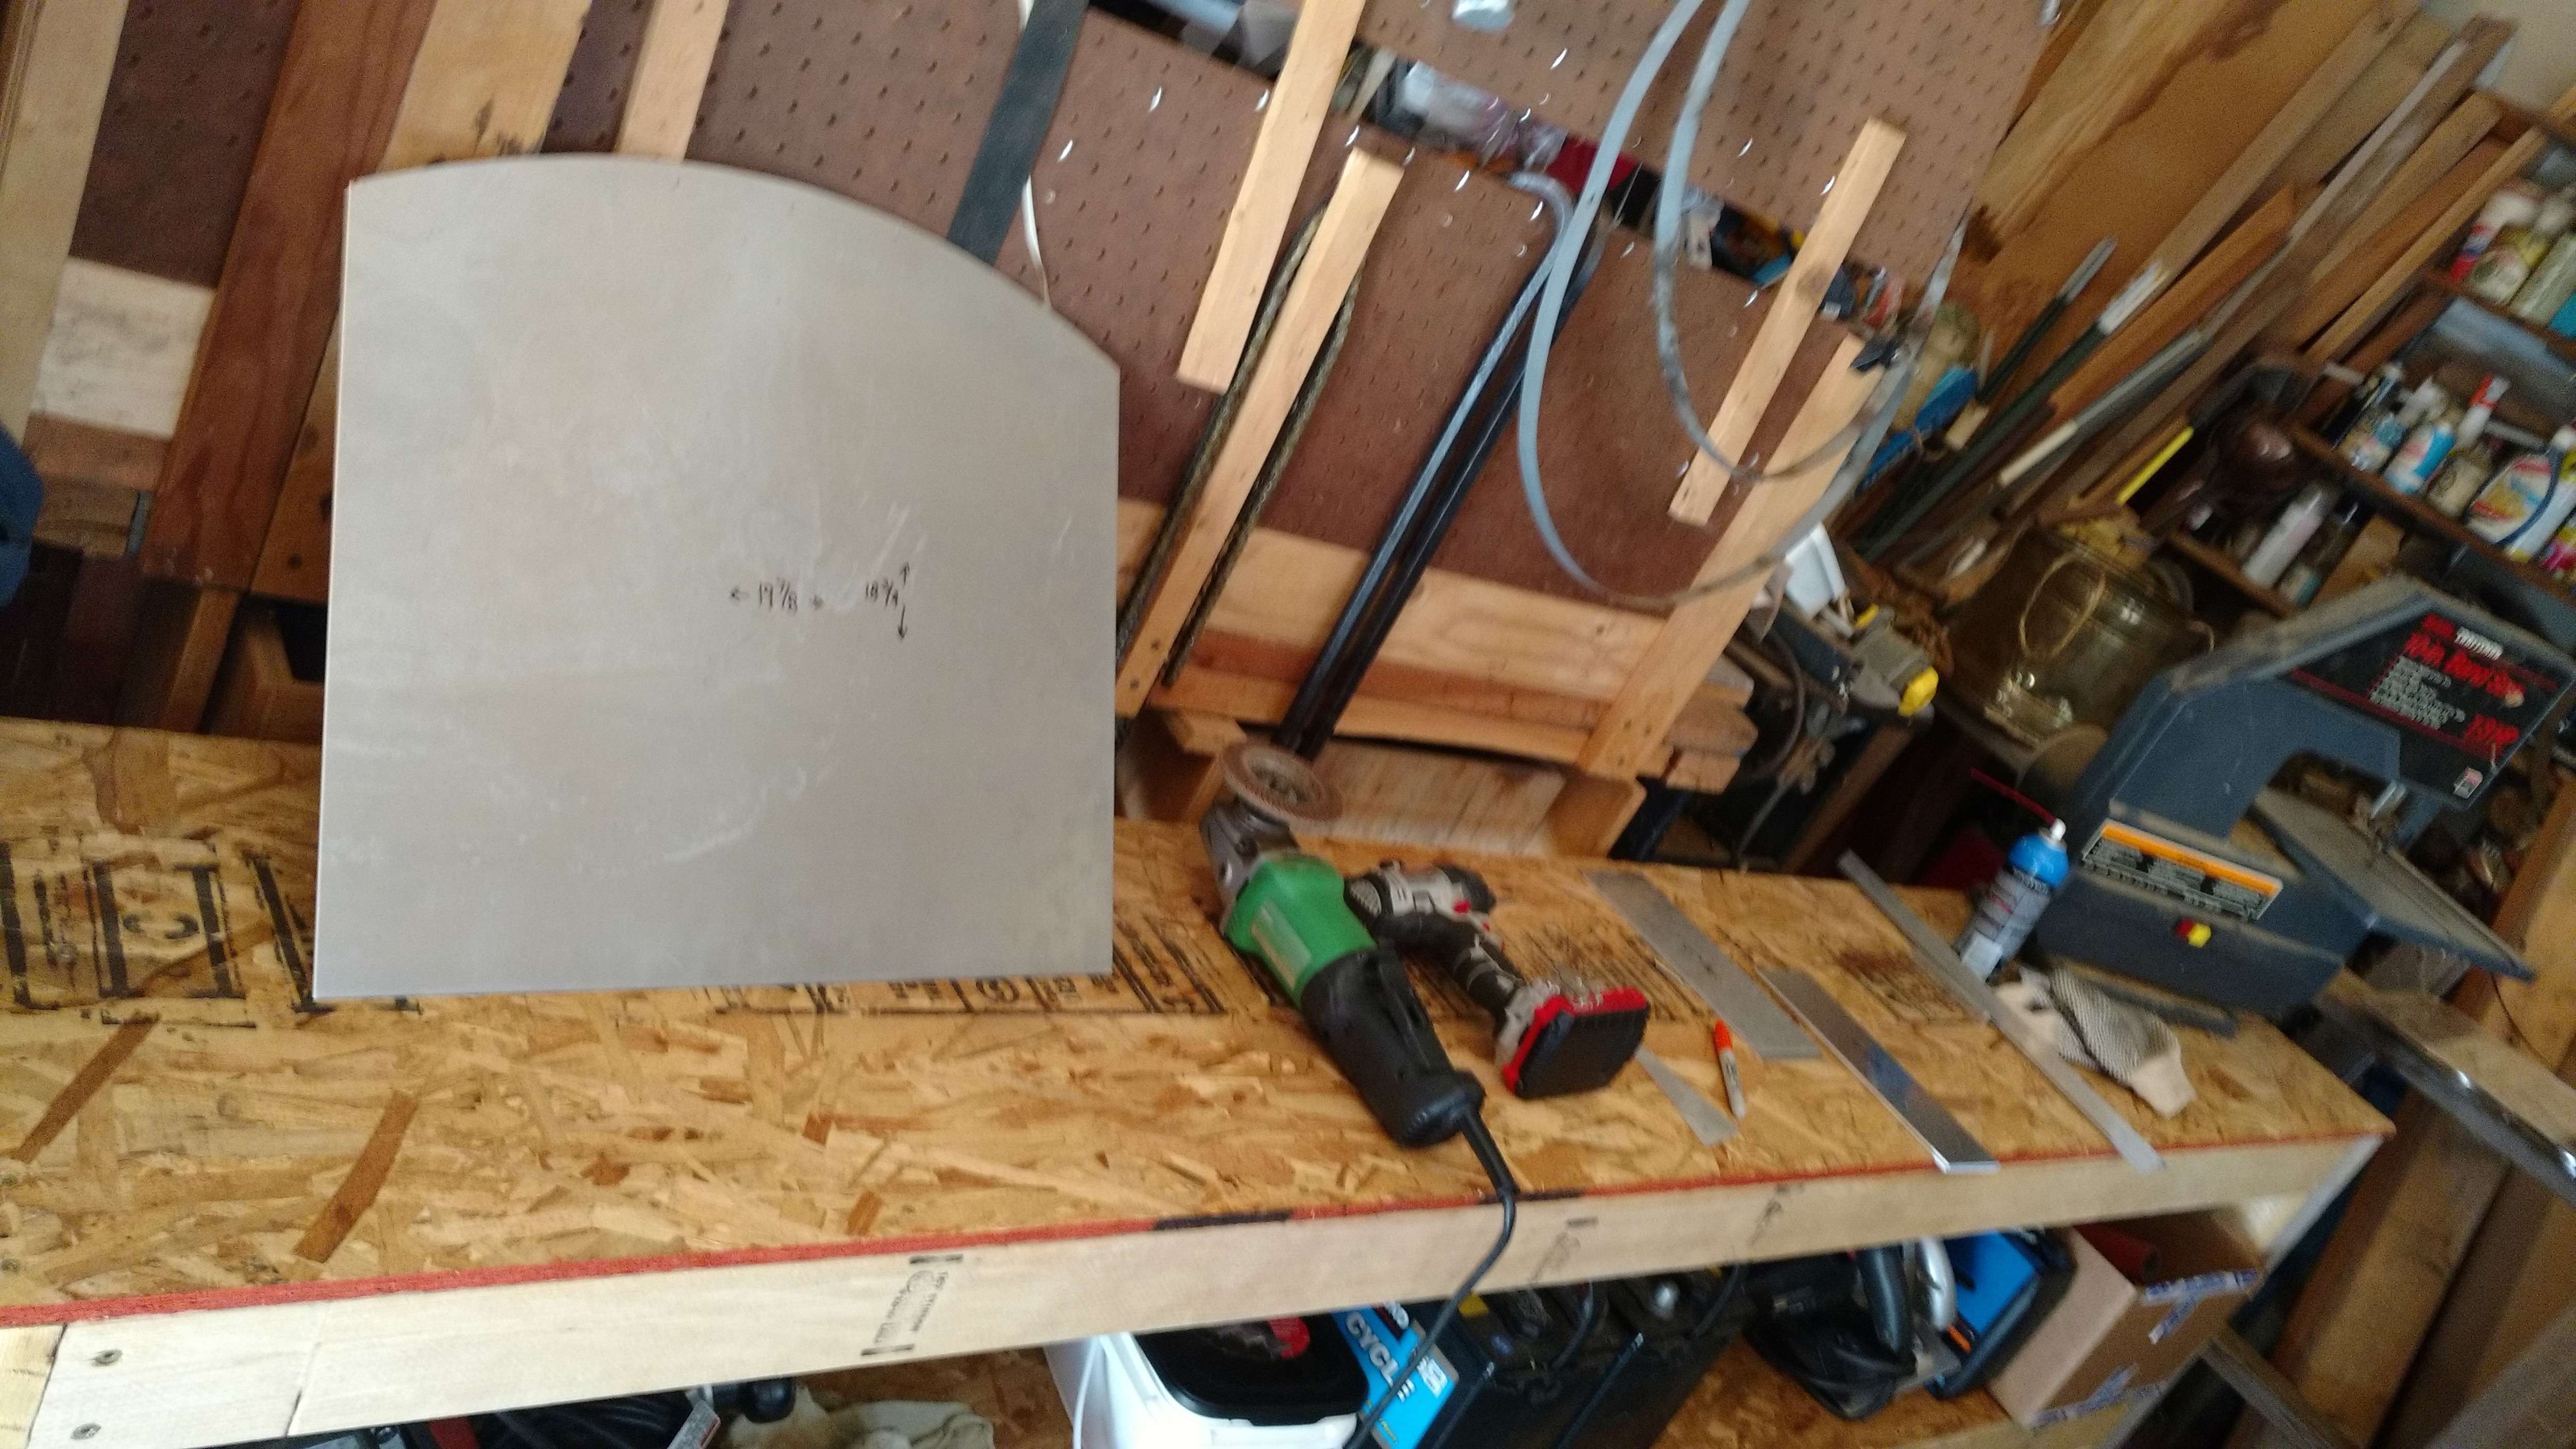
Well this weekend I should see some good progress. I got most of the aluminum I need for my S12 body cut and formed after work today and picked up a bunch of countersunk rivets(pictures of the real thing appear to show these having a welded body with not many exposed rivets-so I'll use these and then fill in the depressions with JB weld). Time to start drilling holes, cutting window openings, and riveting things together.
She's gonna be a beast, she'll be 82" long minus couplers!
Well I've got the cab sides pretty much all built except the window cutouts facing forward, my old jigsaw stopped working on me so I'm going to have to come up with another way to cut the openings, it wasn't working that great anyway. The sawzall I have is totally overkill and I need more precise control than that so I'm thinking about trying one of these:
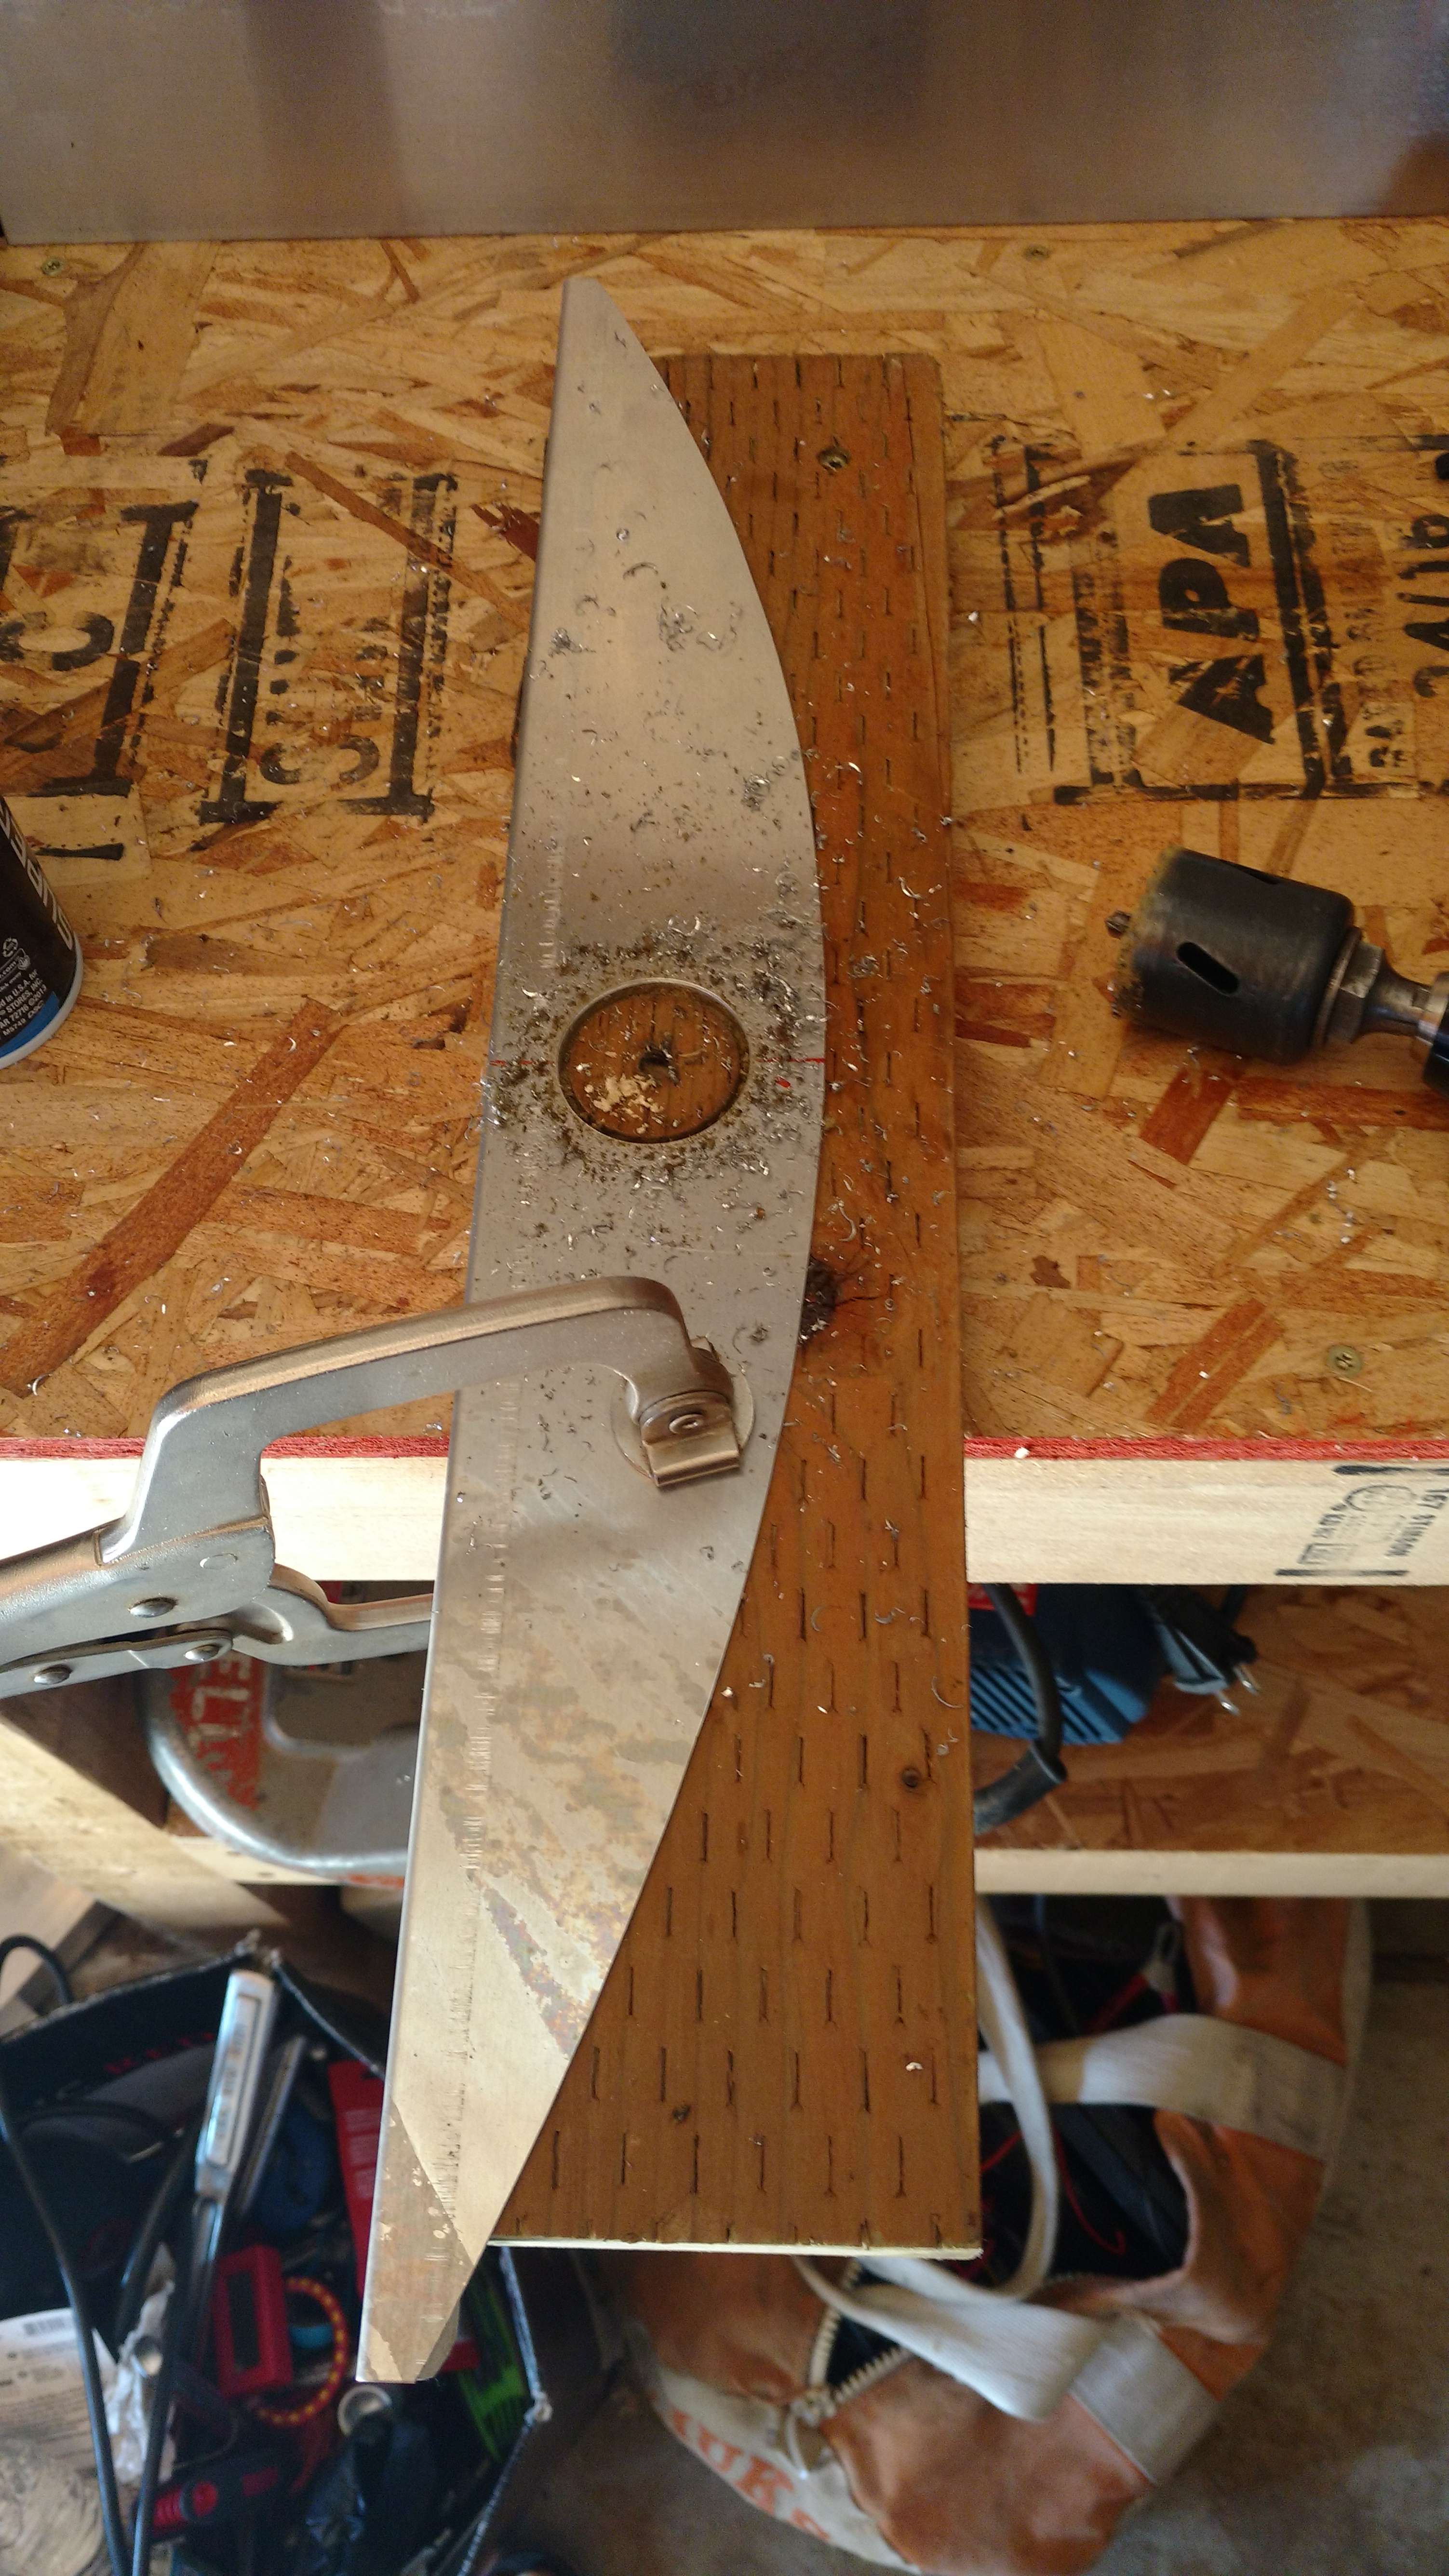
The riveting is taking forever haha, I'm so picky that I do a sharpie and scribe layout and space them evenly, drill the 2 holes at each end of the row, install a couple rivets, then go back and drill the rest of the holes, drill the two rivets out and clean out all the chips from between the parts and de-bur the holes, then finally rivet the seam together.
Well you can use Clecko or No Mar temporary fasteners to hold your various pieces of sheet metal in place while setting up for riveting. This alleviates riveting the ends and then drilling them out later.
Good thought, although it hasn't been that big of a deal to drill out the rivets.
Interestingly enough, the flat head rivets I ordered have not been working well. The shanks are getting stuck in the rivet tool, and a lot of them won't pull the seam tight. I've gone to using the regular ones in a countersunk hole, and should be able to use a little filler and bodywork them smooth where I don't want to see them.
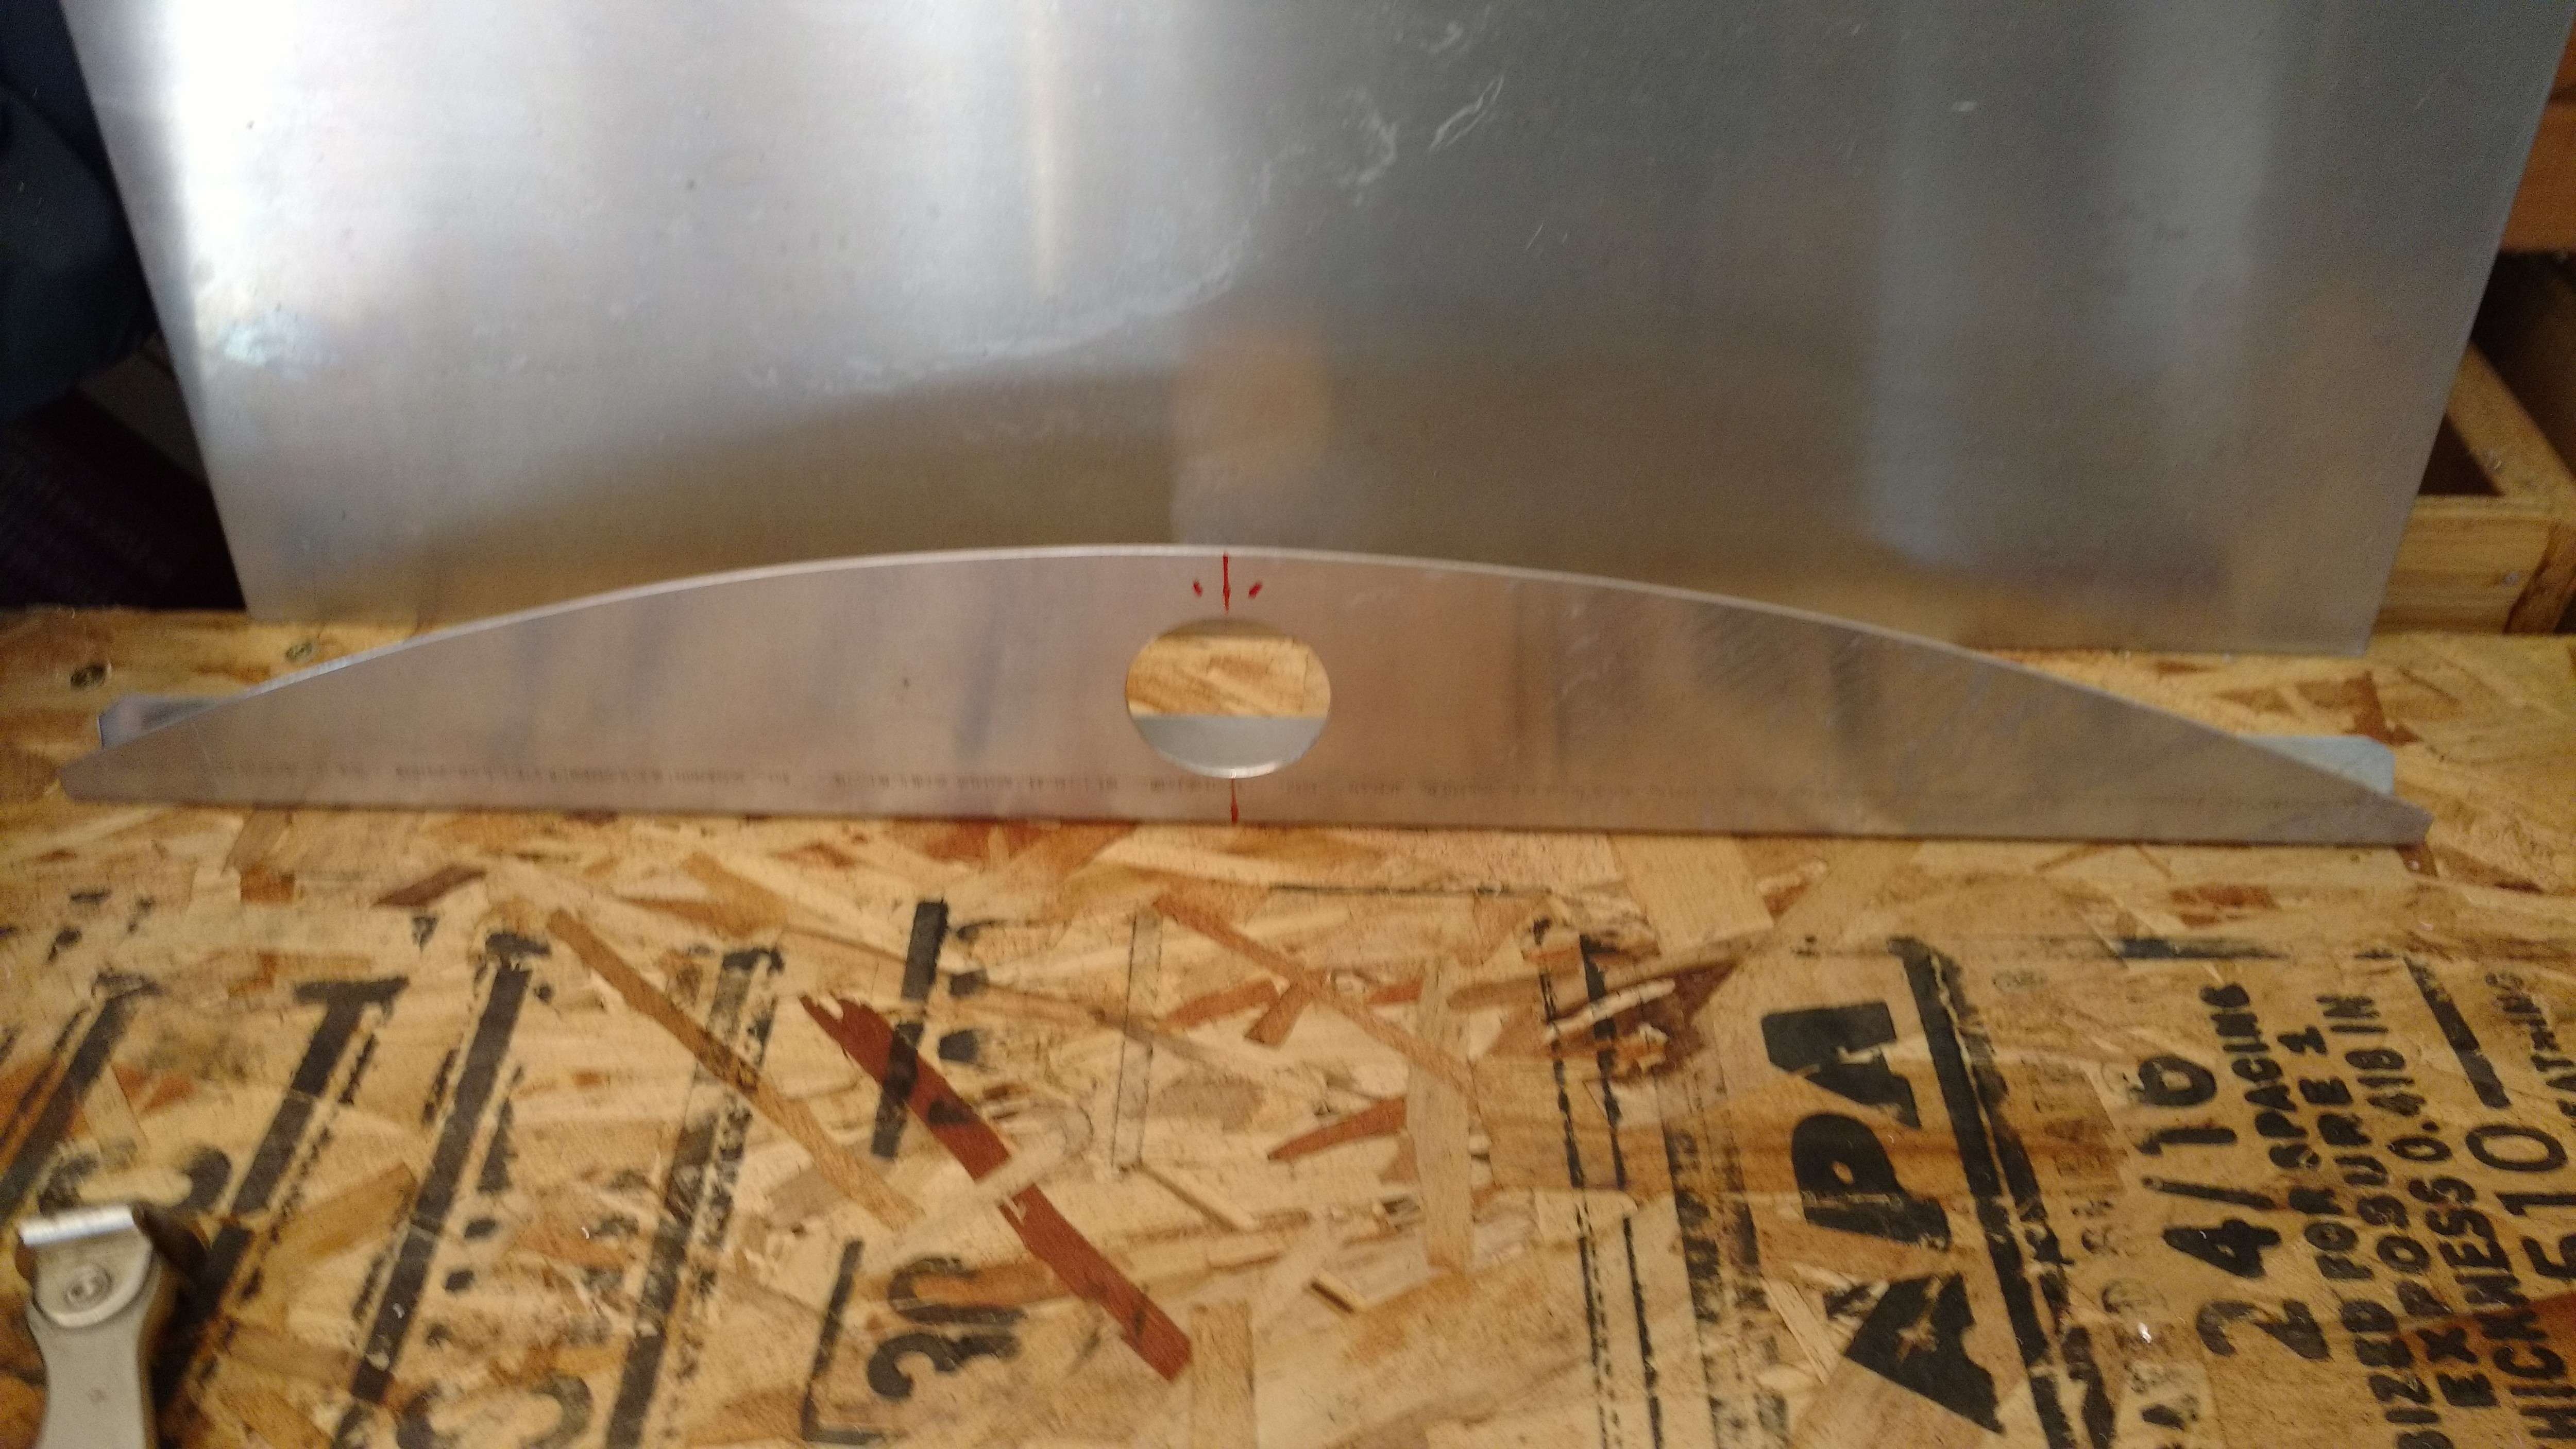
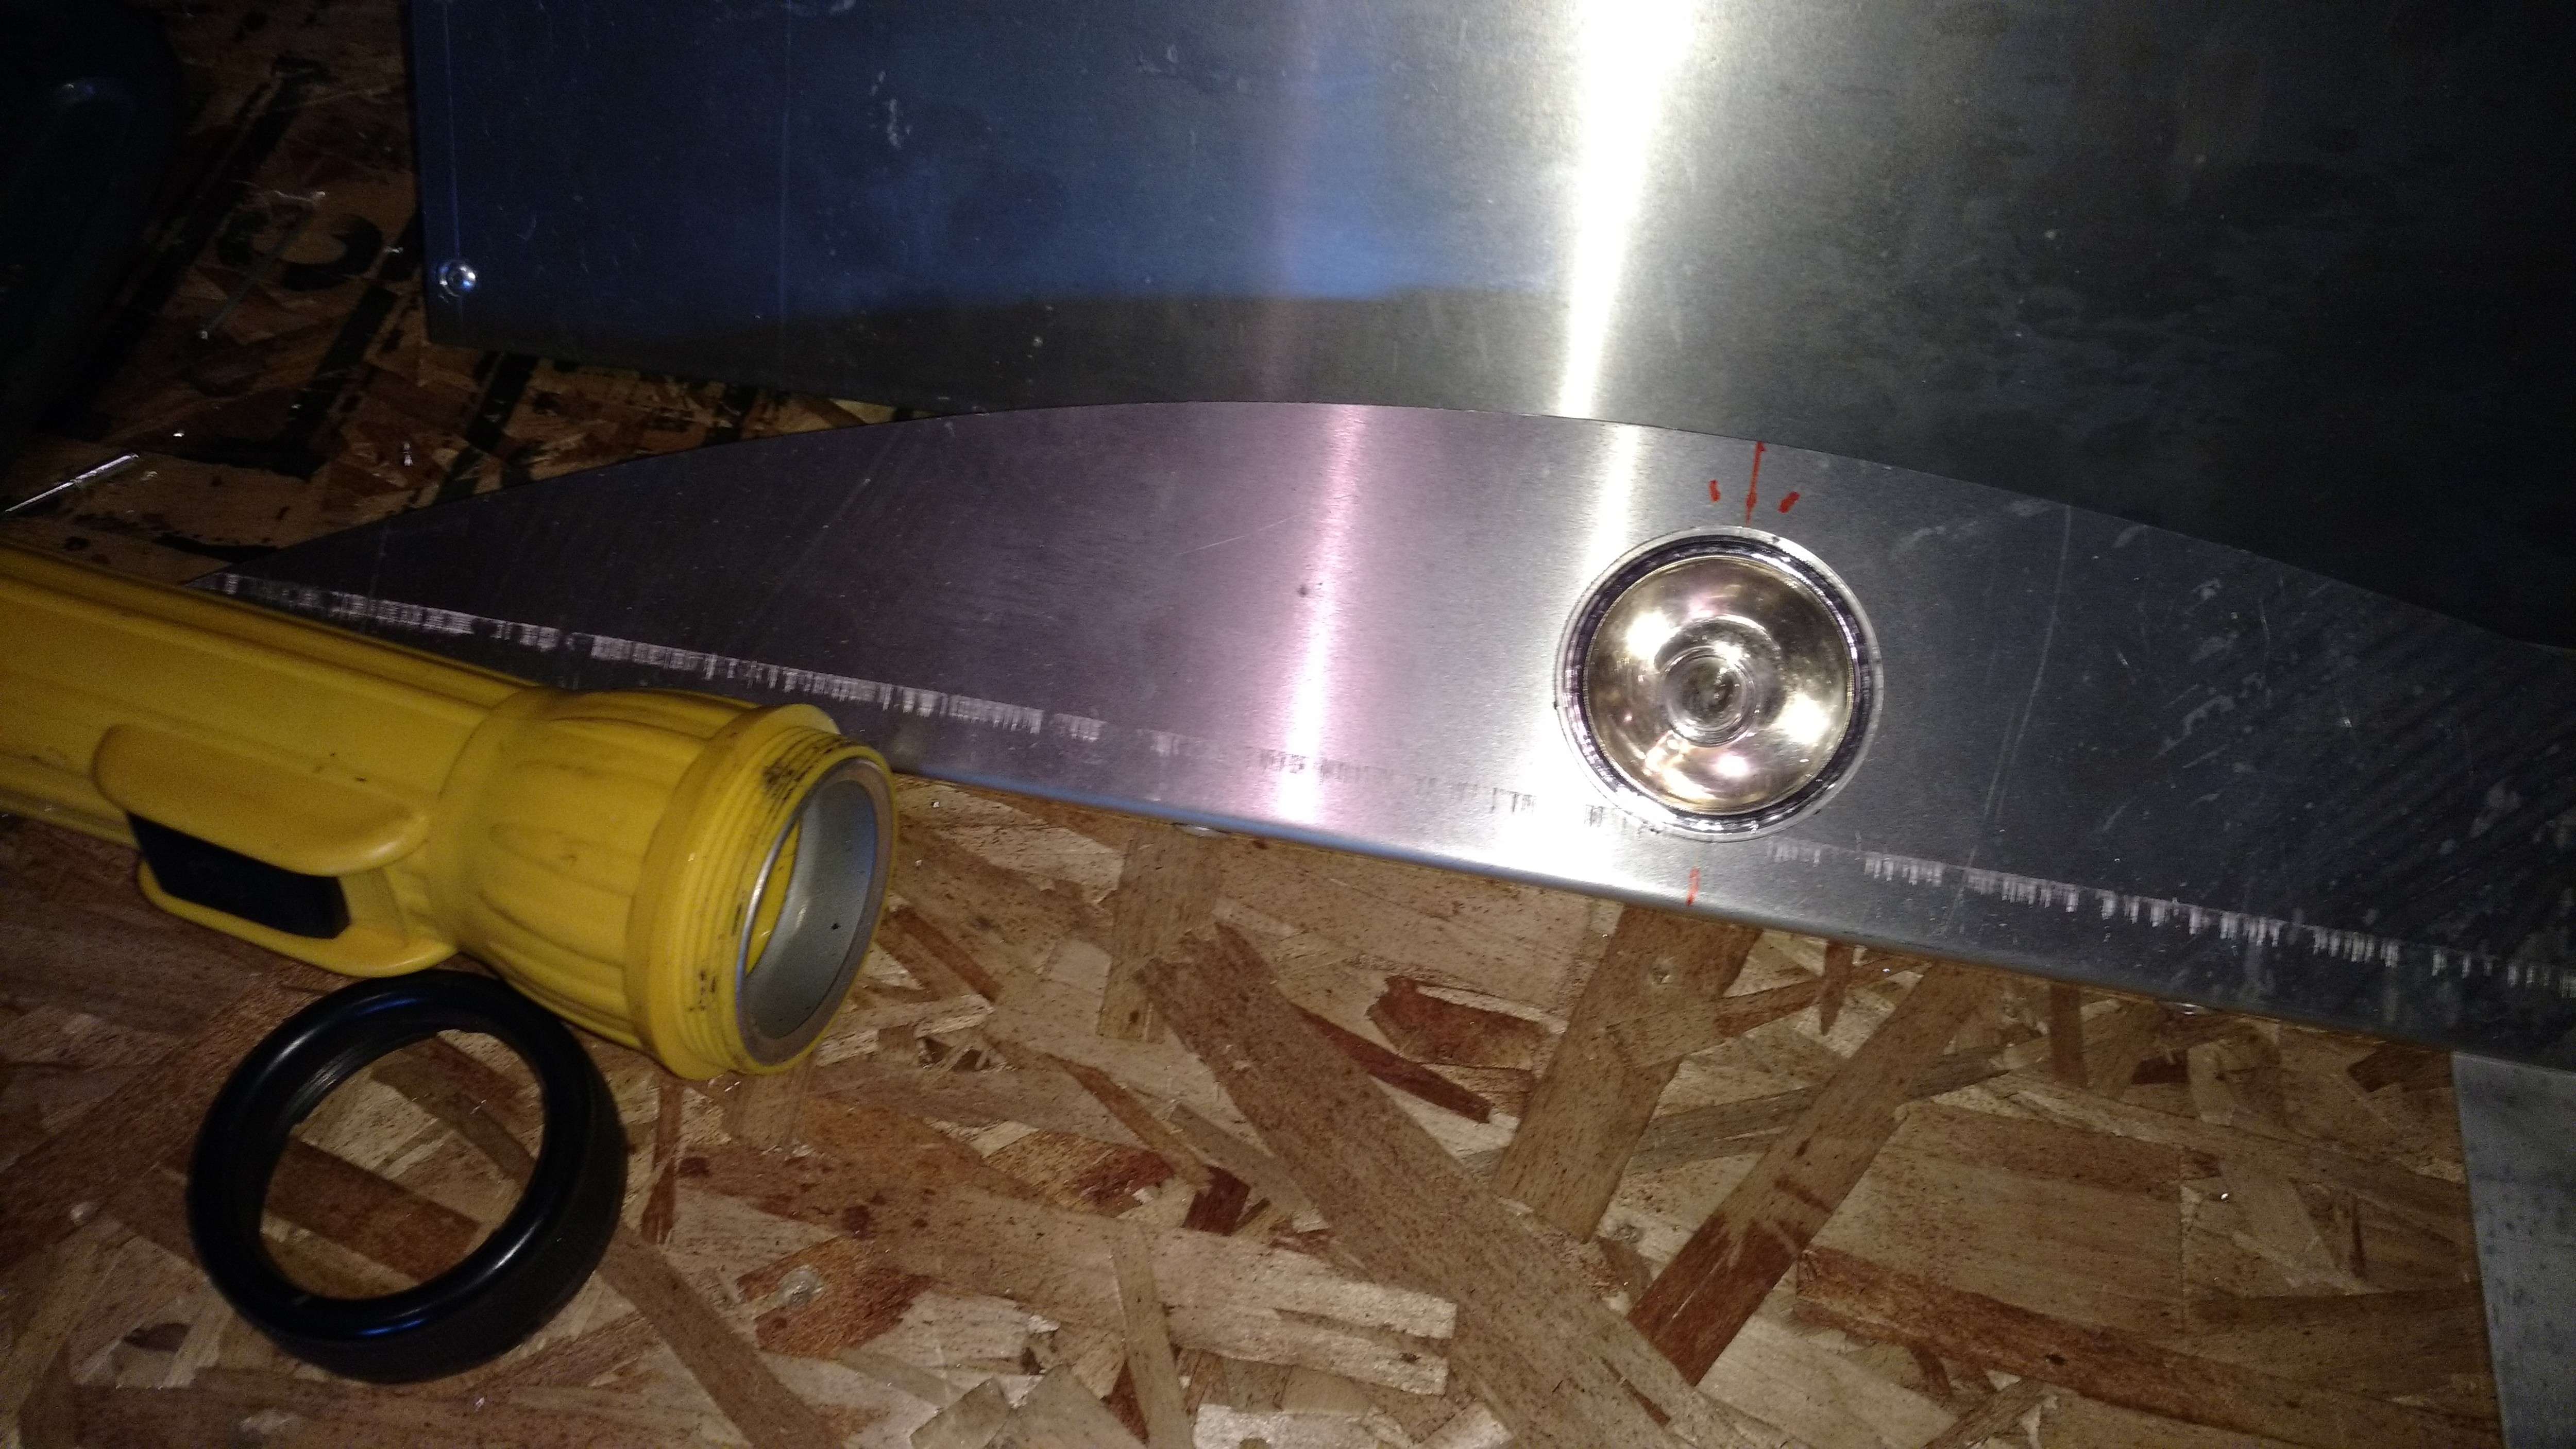
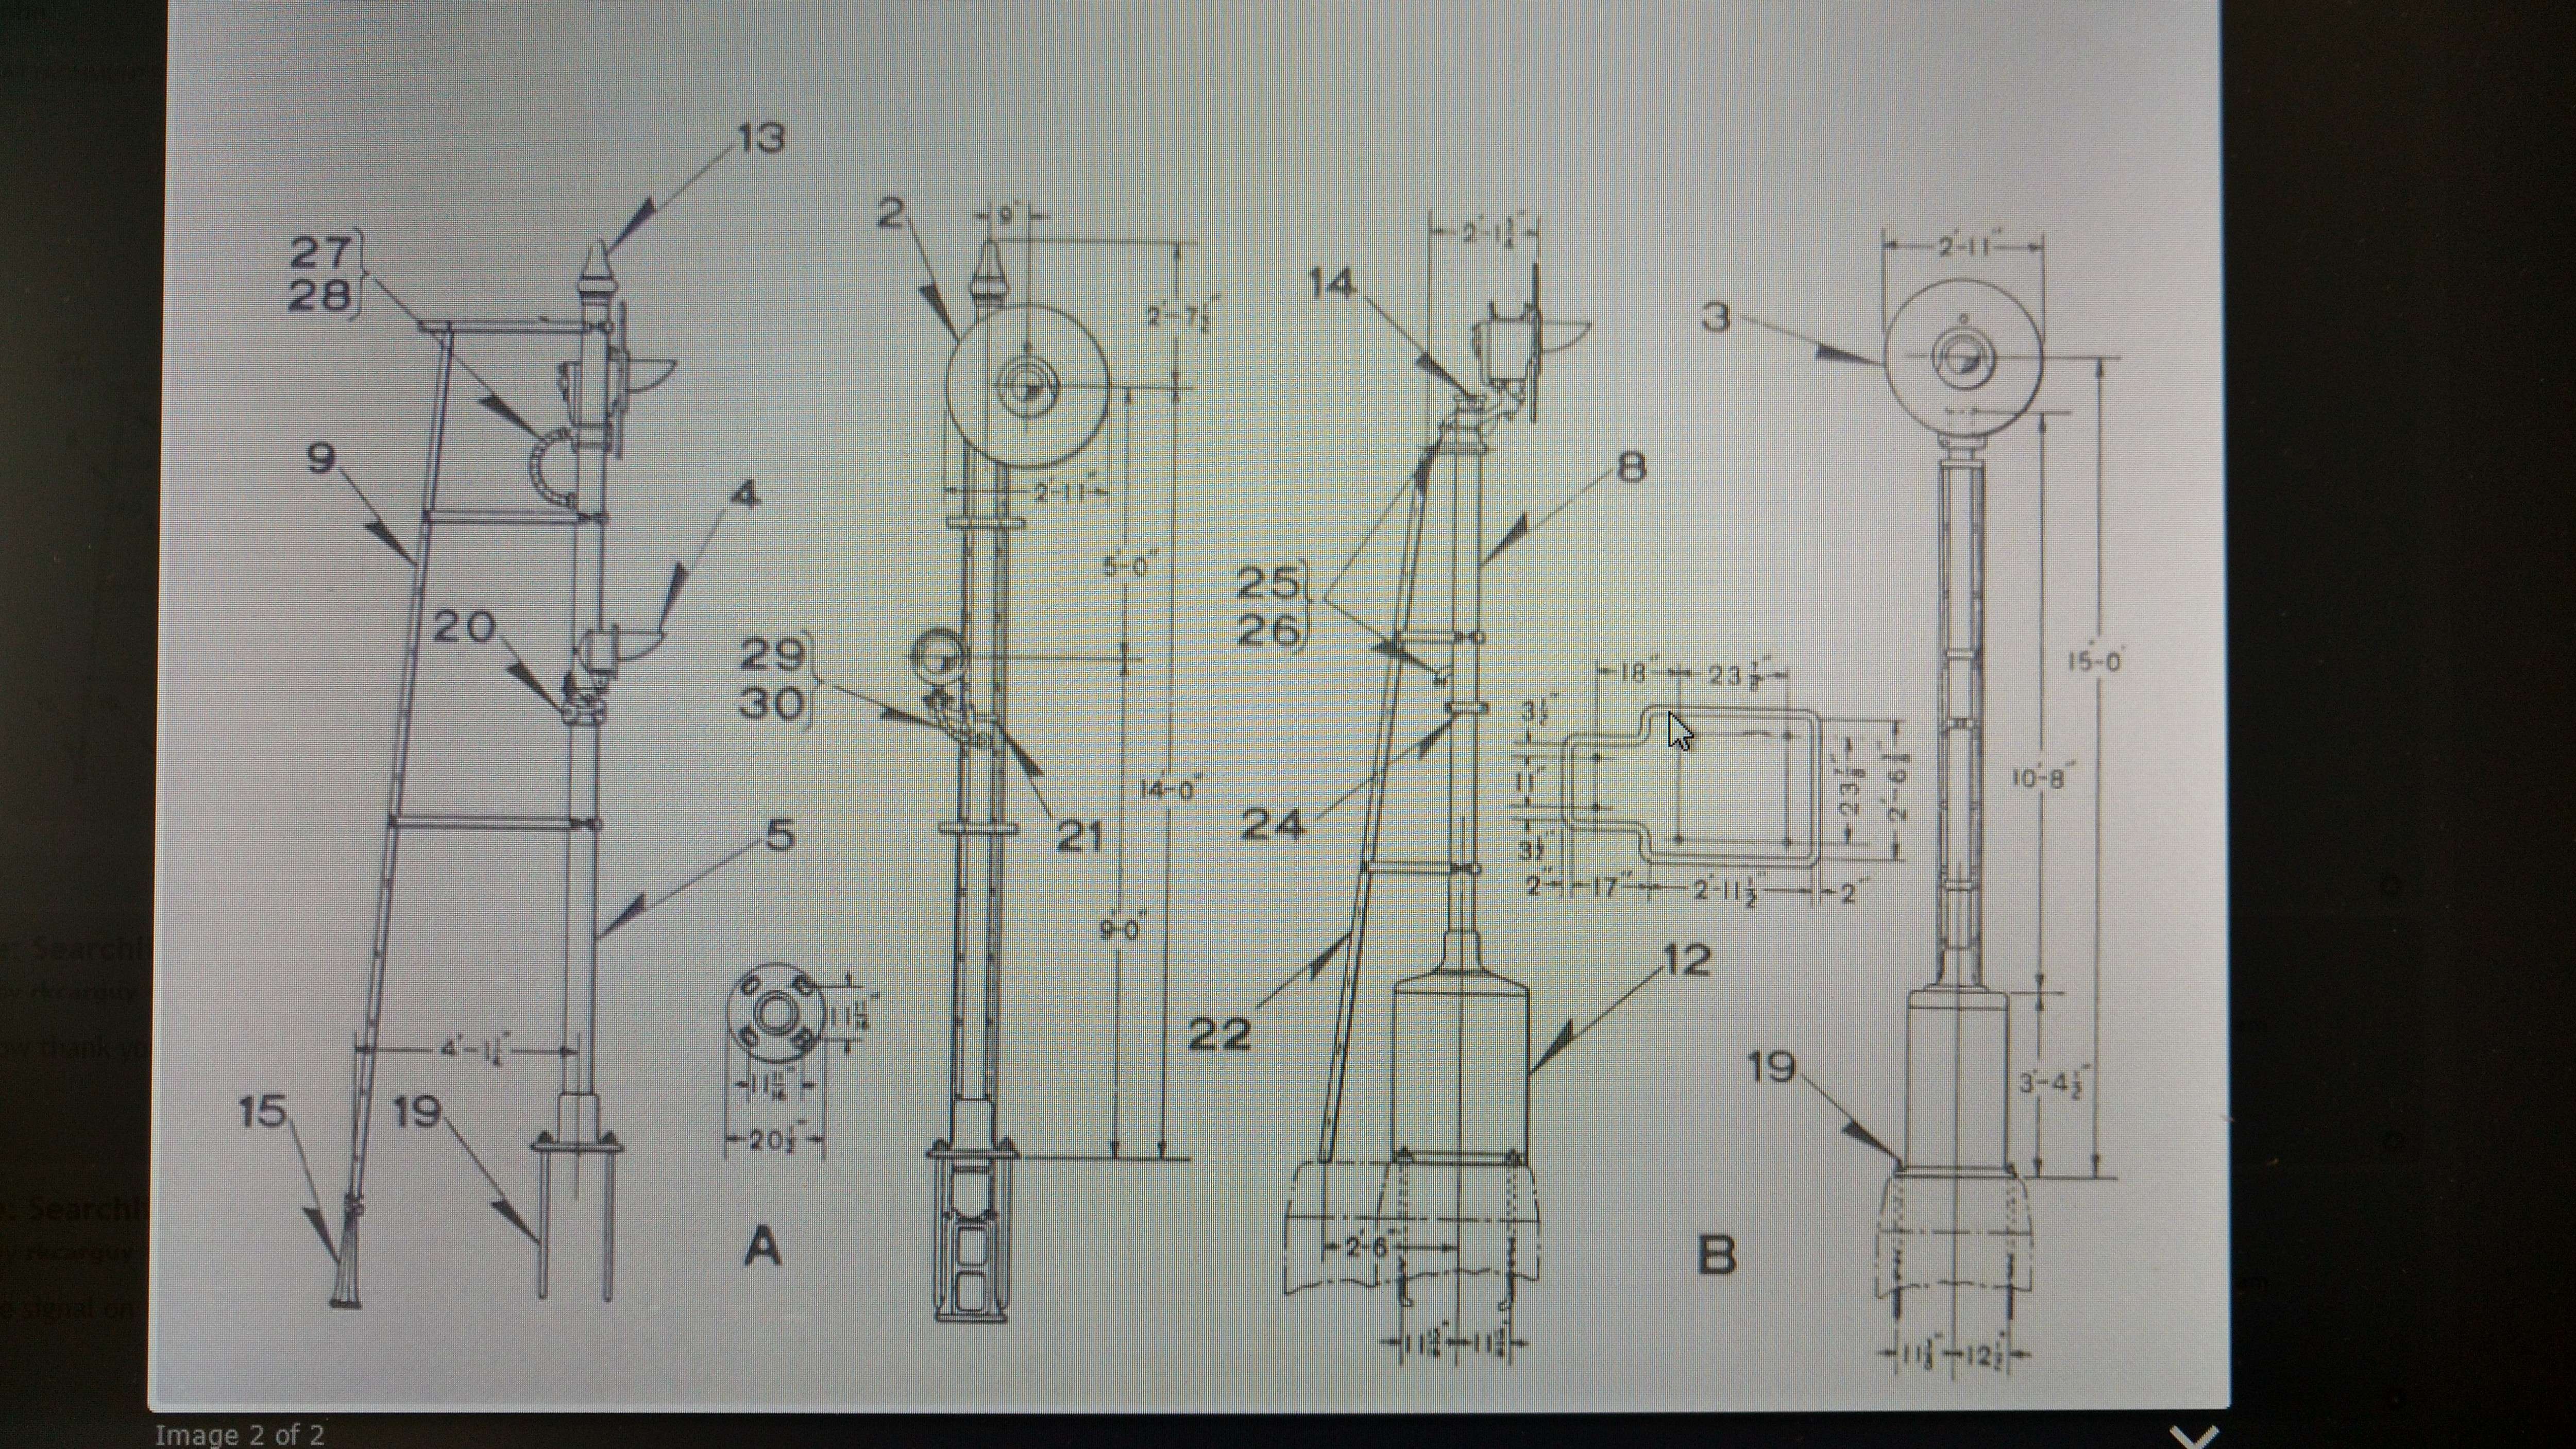
I've been working on a searchlight signal, but did get the windows cut in the front of the cab, and the cab sides attached to the front last night. It's starting to take shape, and turn into a locomotive instead of a pile of sheared aluminum plates.
Interesting about the rivets. I have very little experience riveting, only one small job reattaching some old information plates to a lathe, with small brass round head rivets. I've heard people like to,use the Cleckos for aligning long pieces and I think, keeping the joints tight. Although, again, no first hand experience. I've seen photos where three and four fasteners were used on one piece. I have it in mind to build a riveted frame tender for my antique 4-4-0. Much to learn about the art of riveting before I take on something like that, I suspect.
I am sure many would like to see photos of your build -even in the early stages! Sounds like you are making good progress. Full steam ahead!
Glenn
Moderator - Grand Scale Forum
Motive power : 1902 A.S.Campbell 4-4-0 American - 12 5/8" gauge, 1955 Ottaway 4-4-0 American 12" gauge
Ahaha, Retirement: the good life - drifting endlessly on a Sea of projects....
There is what I've got so far for pictures. Had to dump photo-bucket.
I've gotten a bit further on the locomotive body than I have pics for, will update soon.
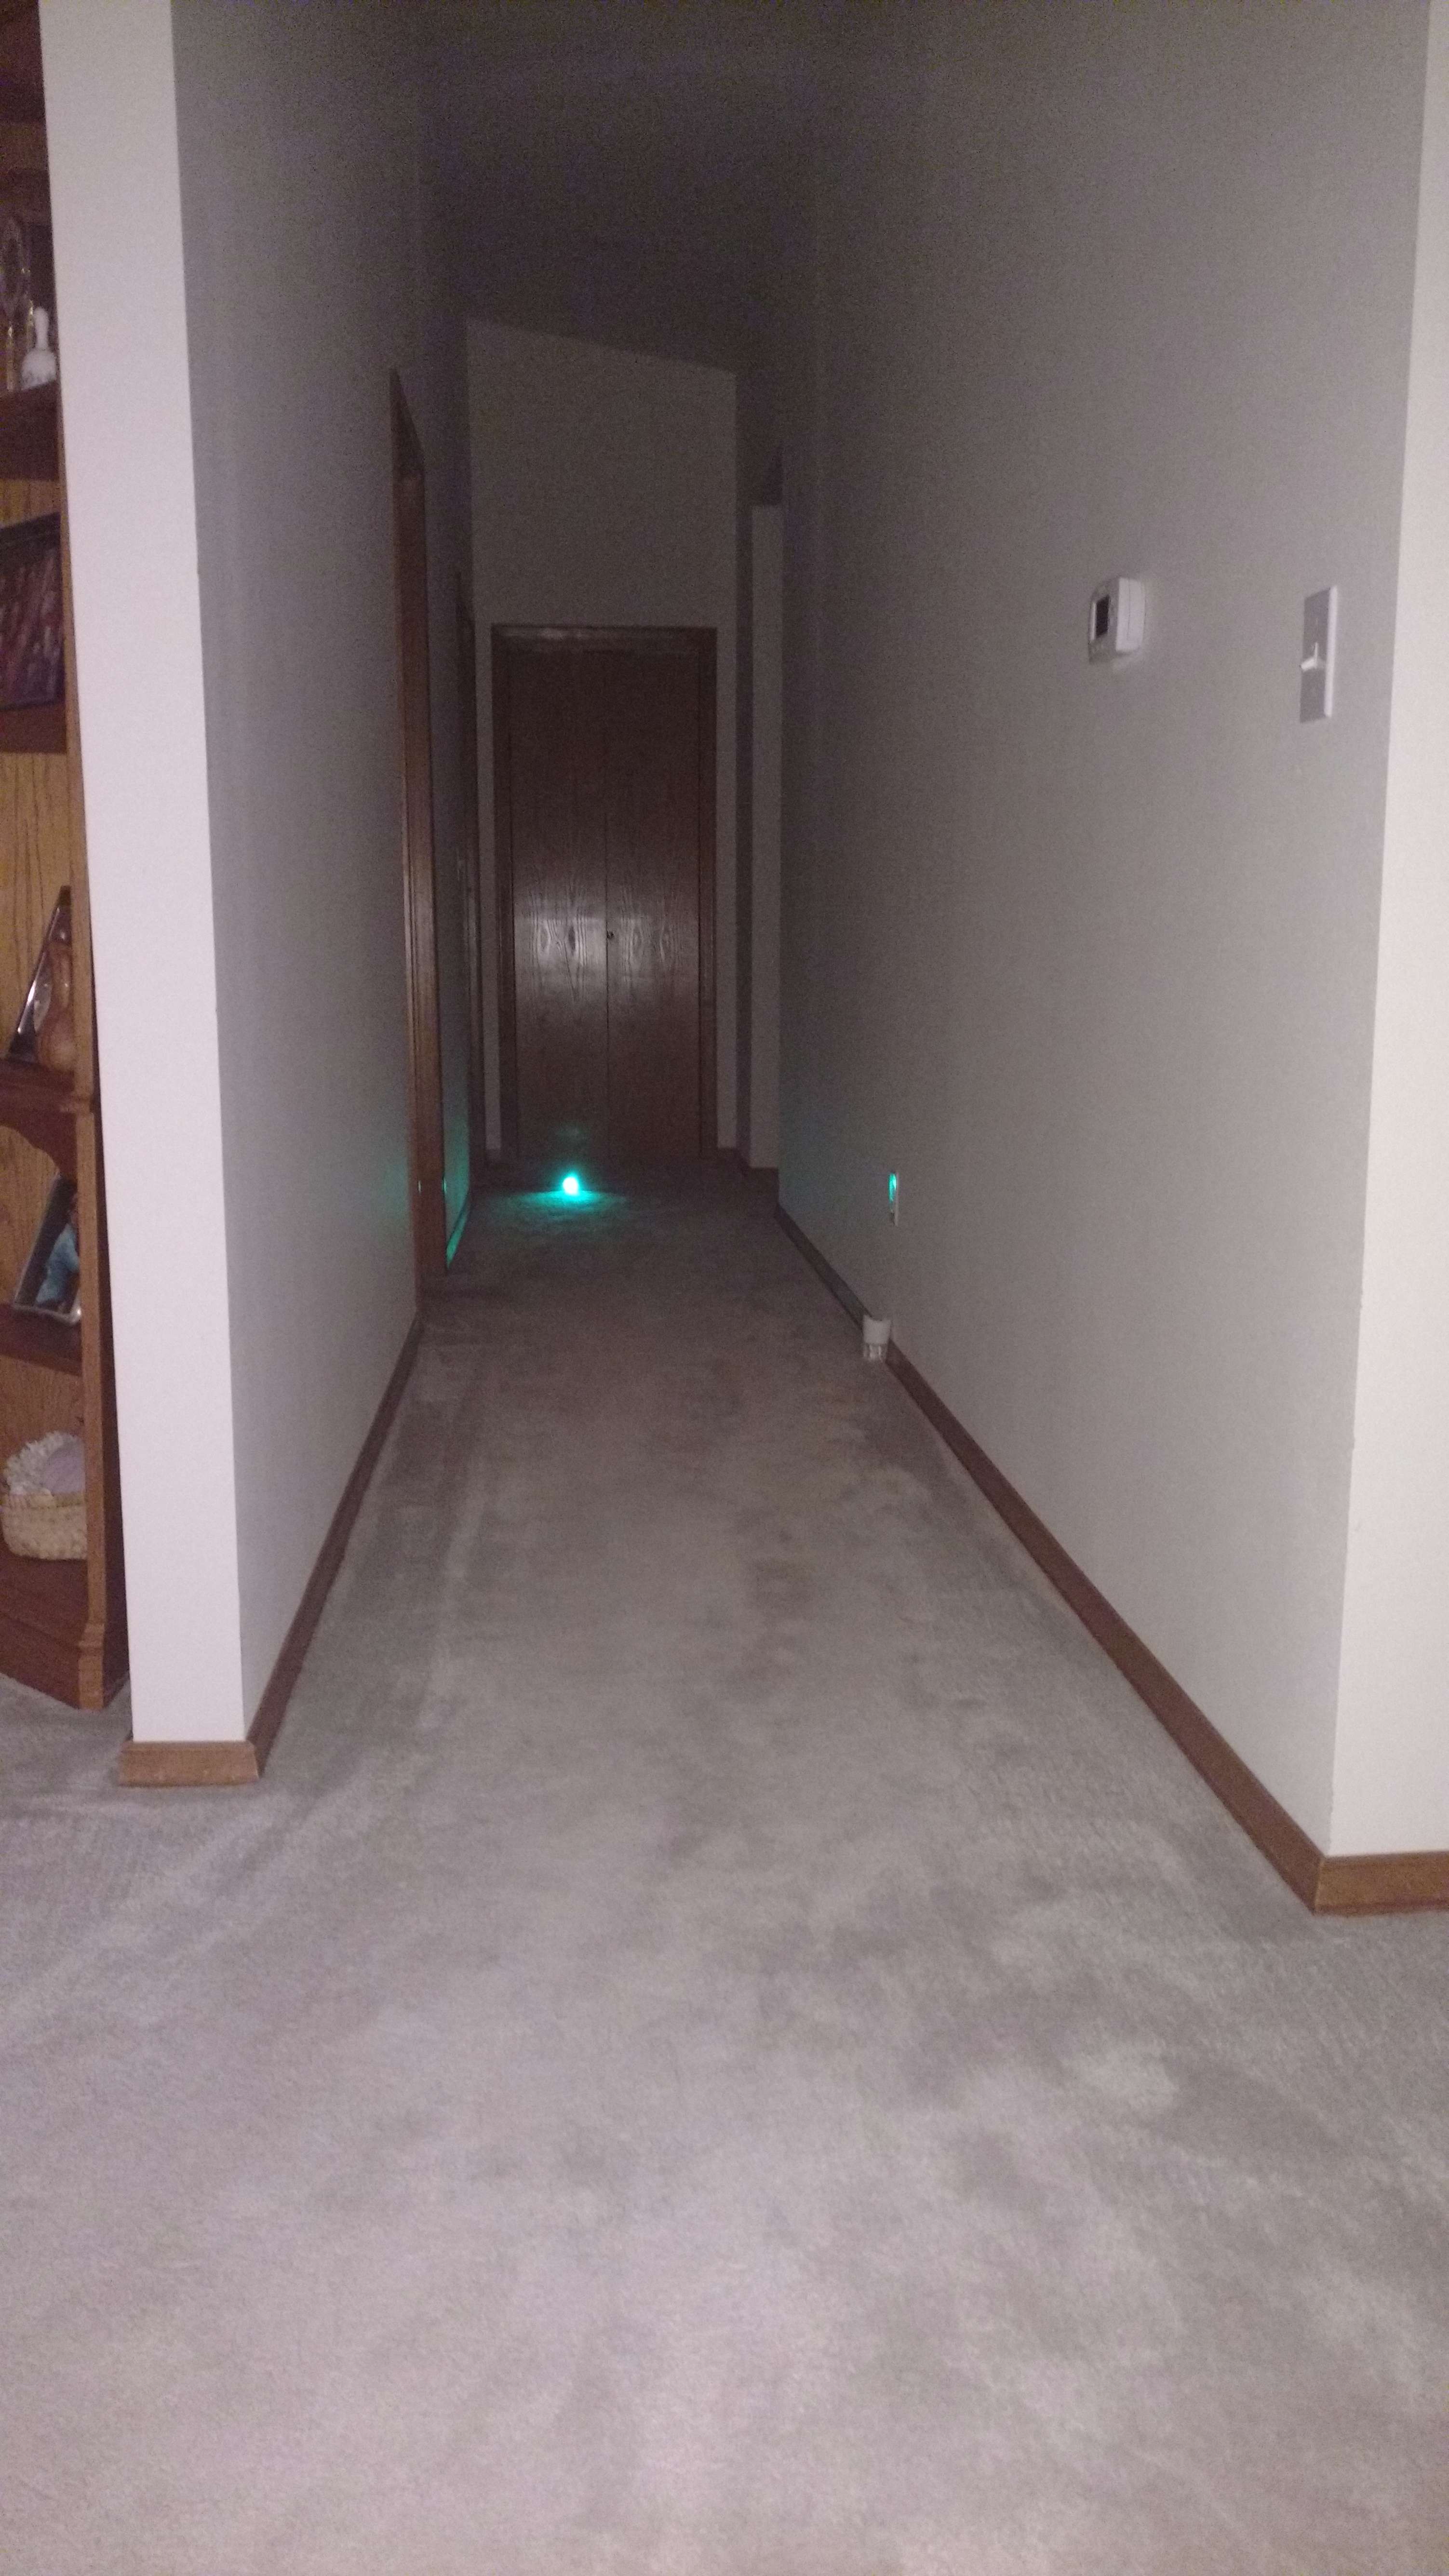
The light at the end of the hallway is about 40' away, that's my homebuilt LED searchlight signal head I'm trying out.
Cool stuff. Your bending and forming capability is a real plus! The signal light looks very interesting. Might be interested in one, if you decide to make extras...
Glenn
Moderator - Grand Scale Forum
Motive power : 1902 A.S.Campbell 4-4-0 American - 12 5/8" gauge, 1955 Ottaway 4-4-0 American 12" gauge
Ahaha, Retirement: the good life - drifting endlessly on a Sea of projects....
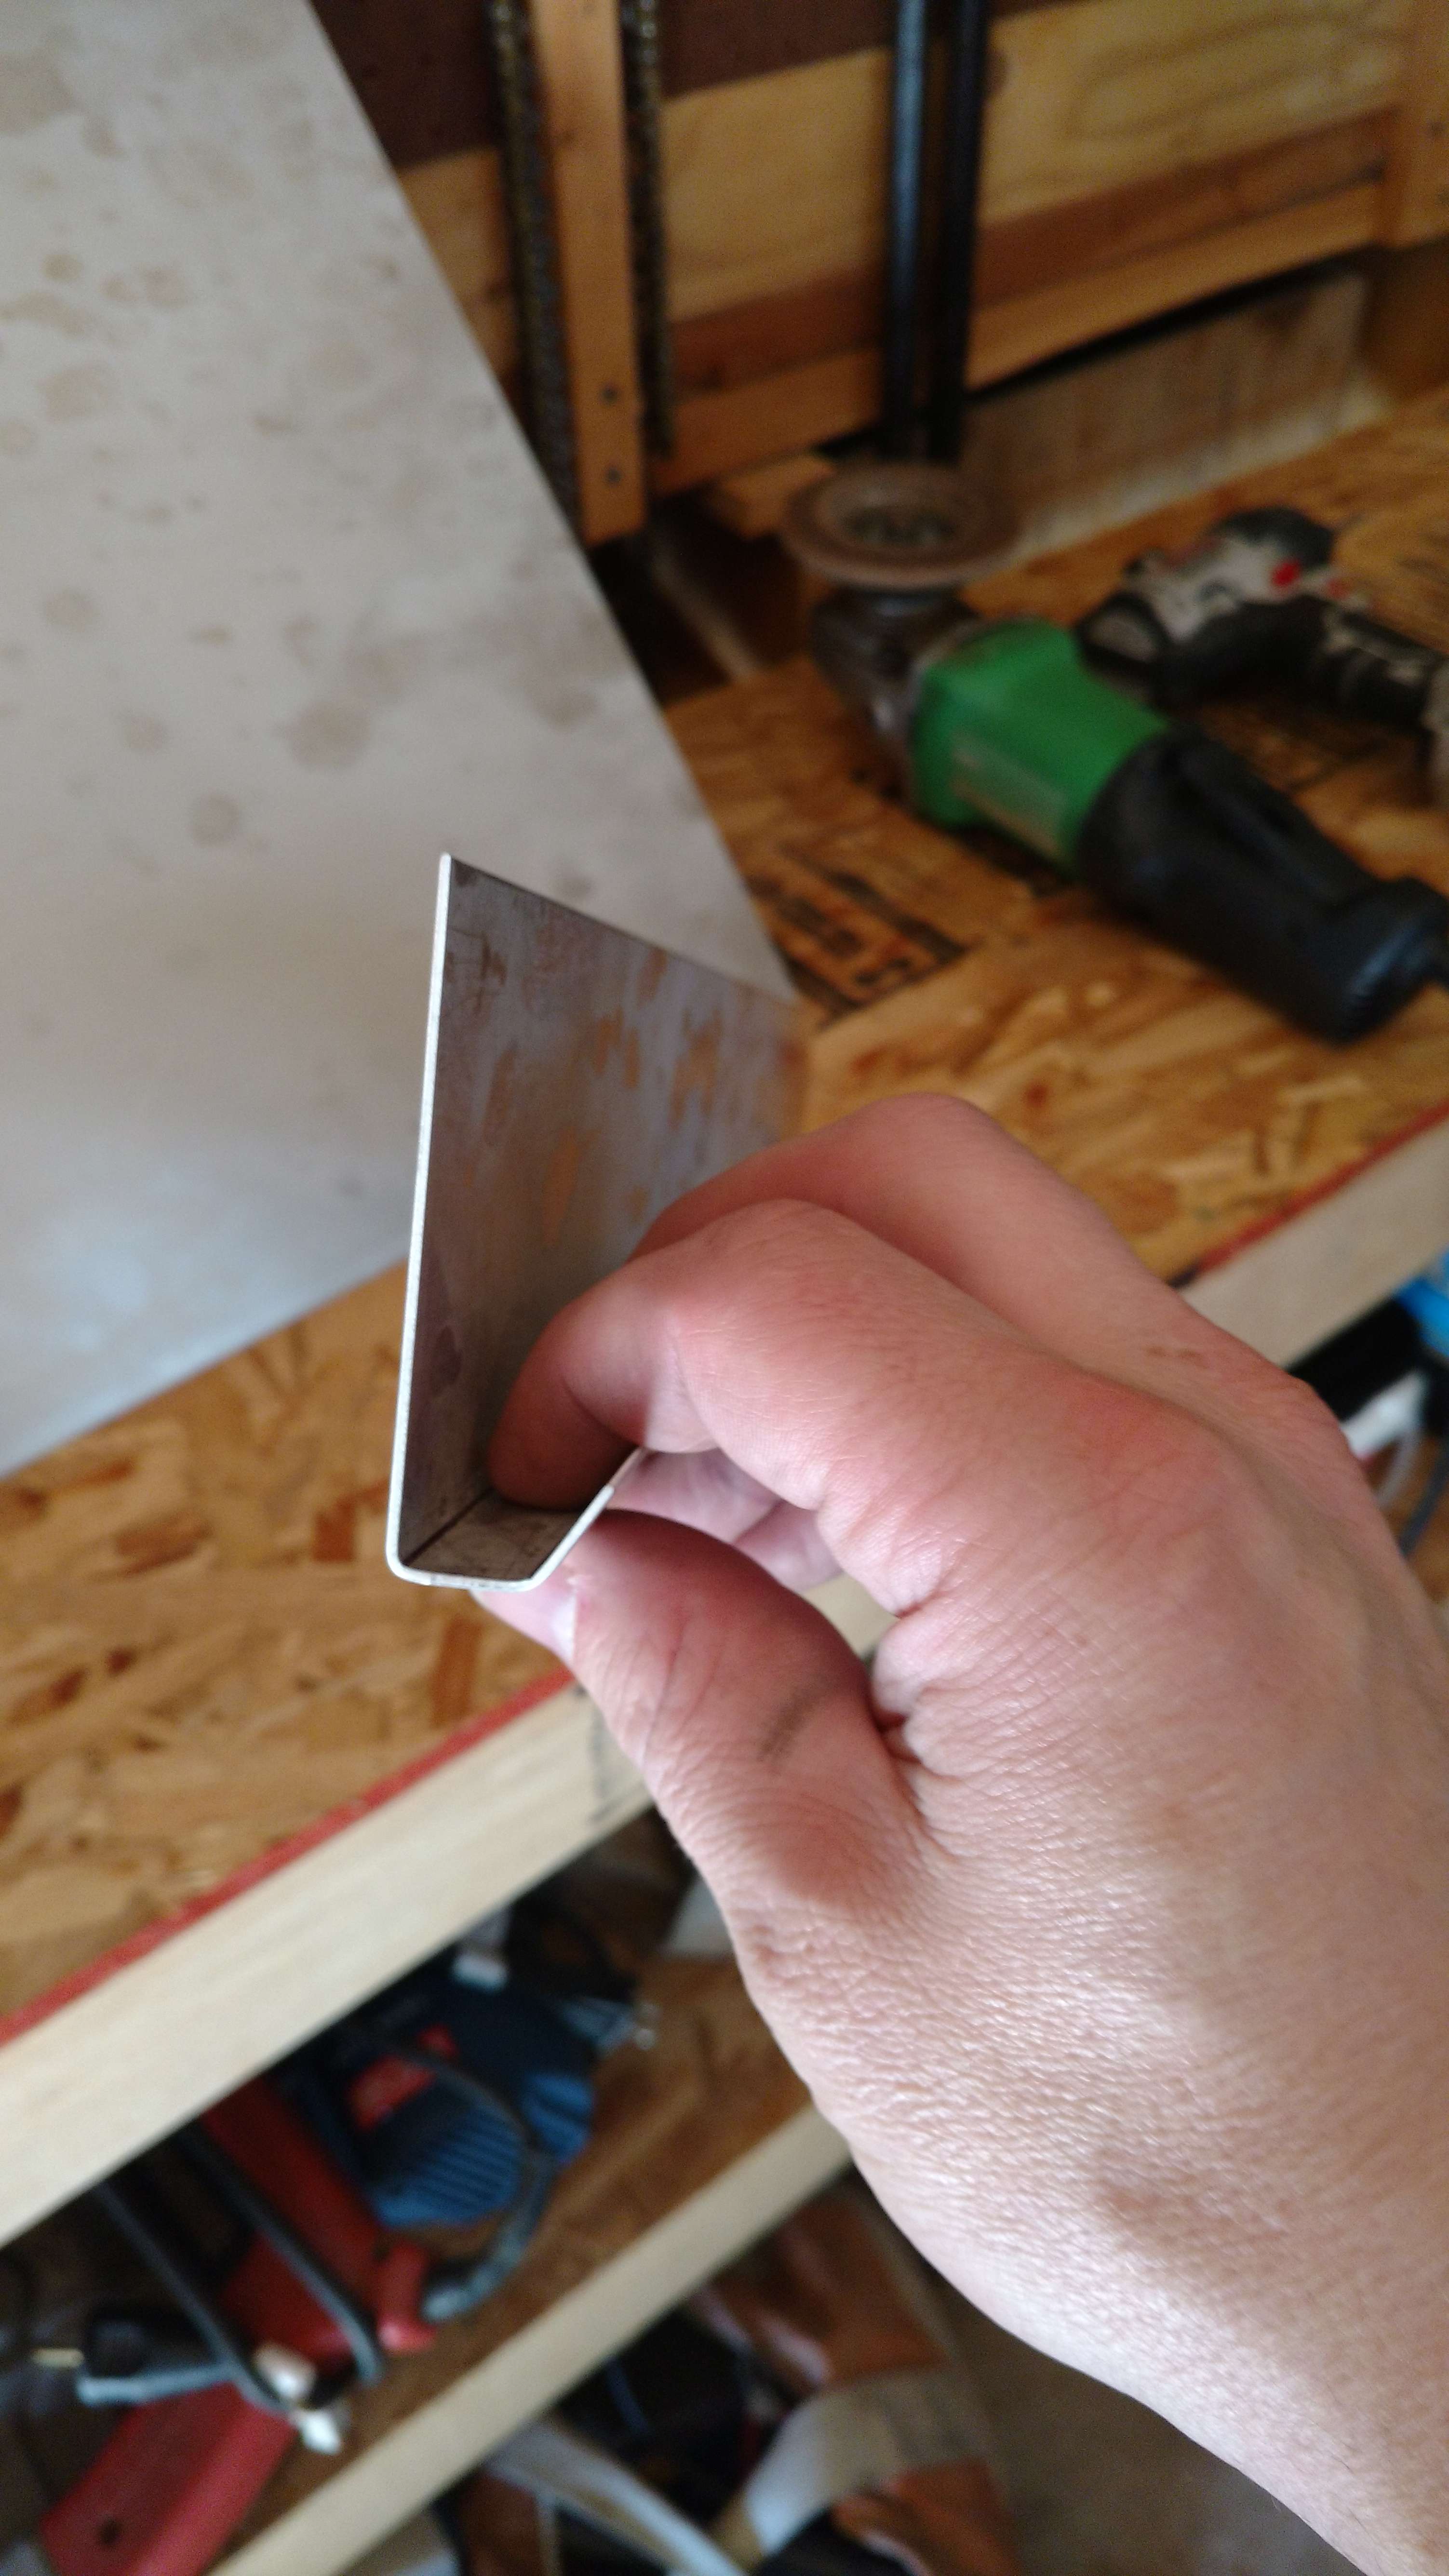
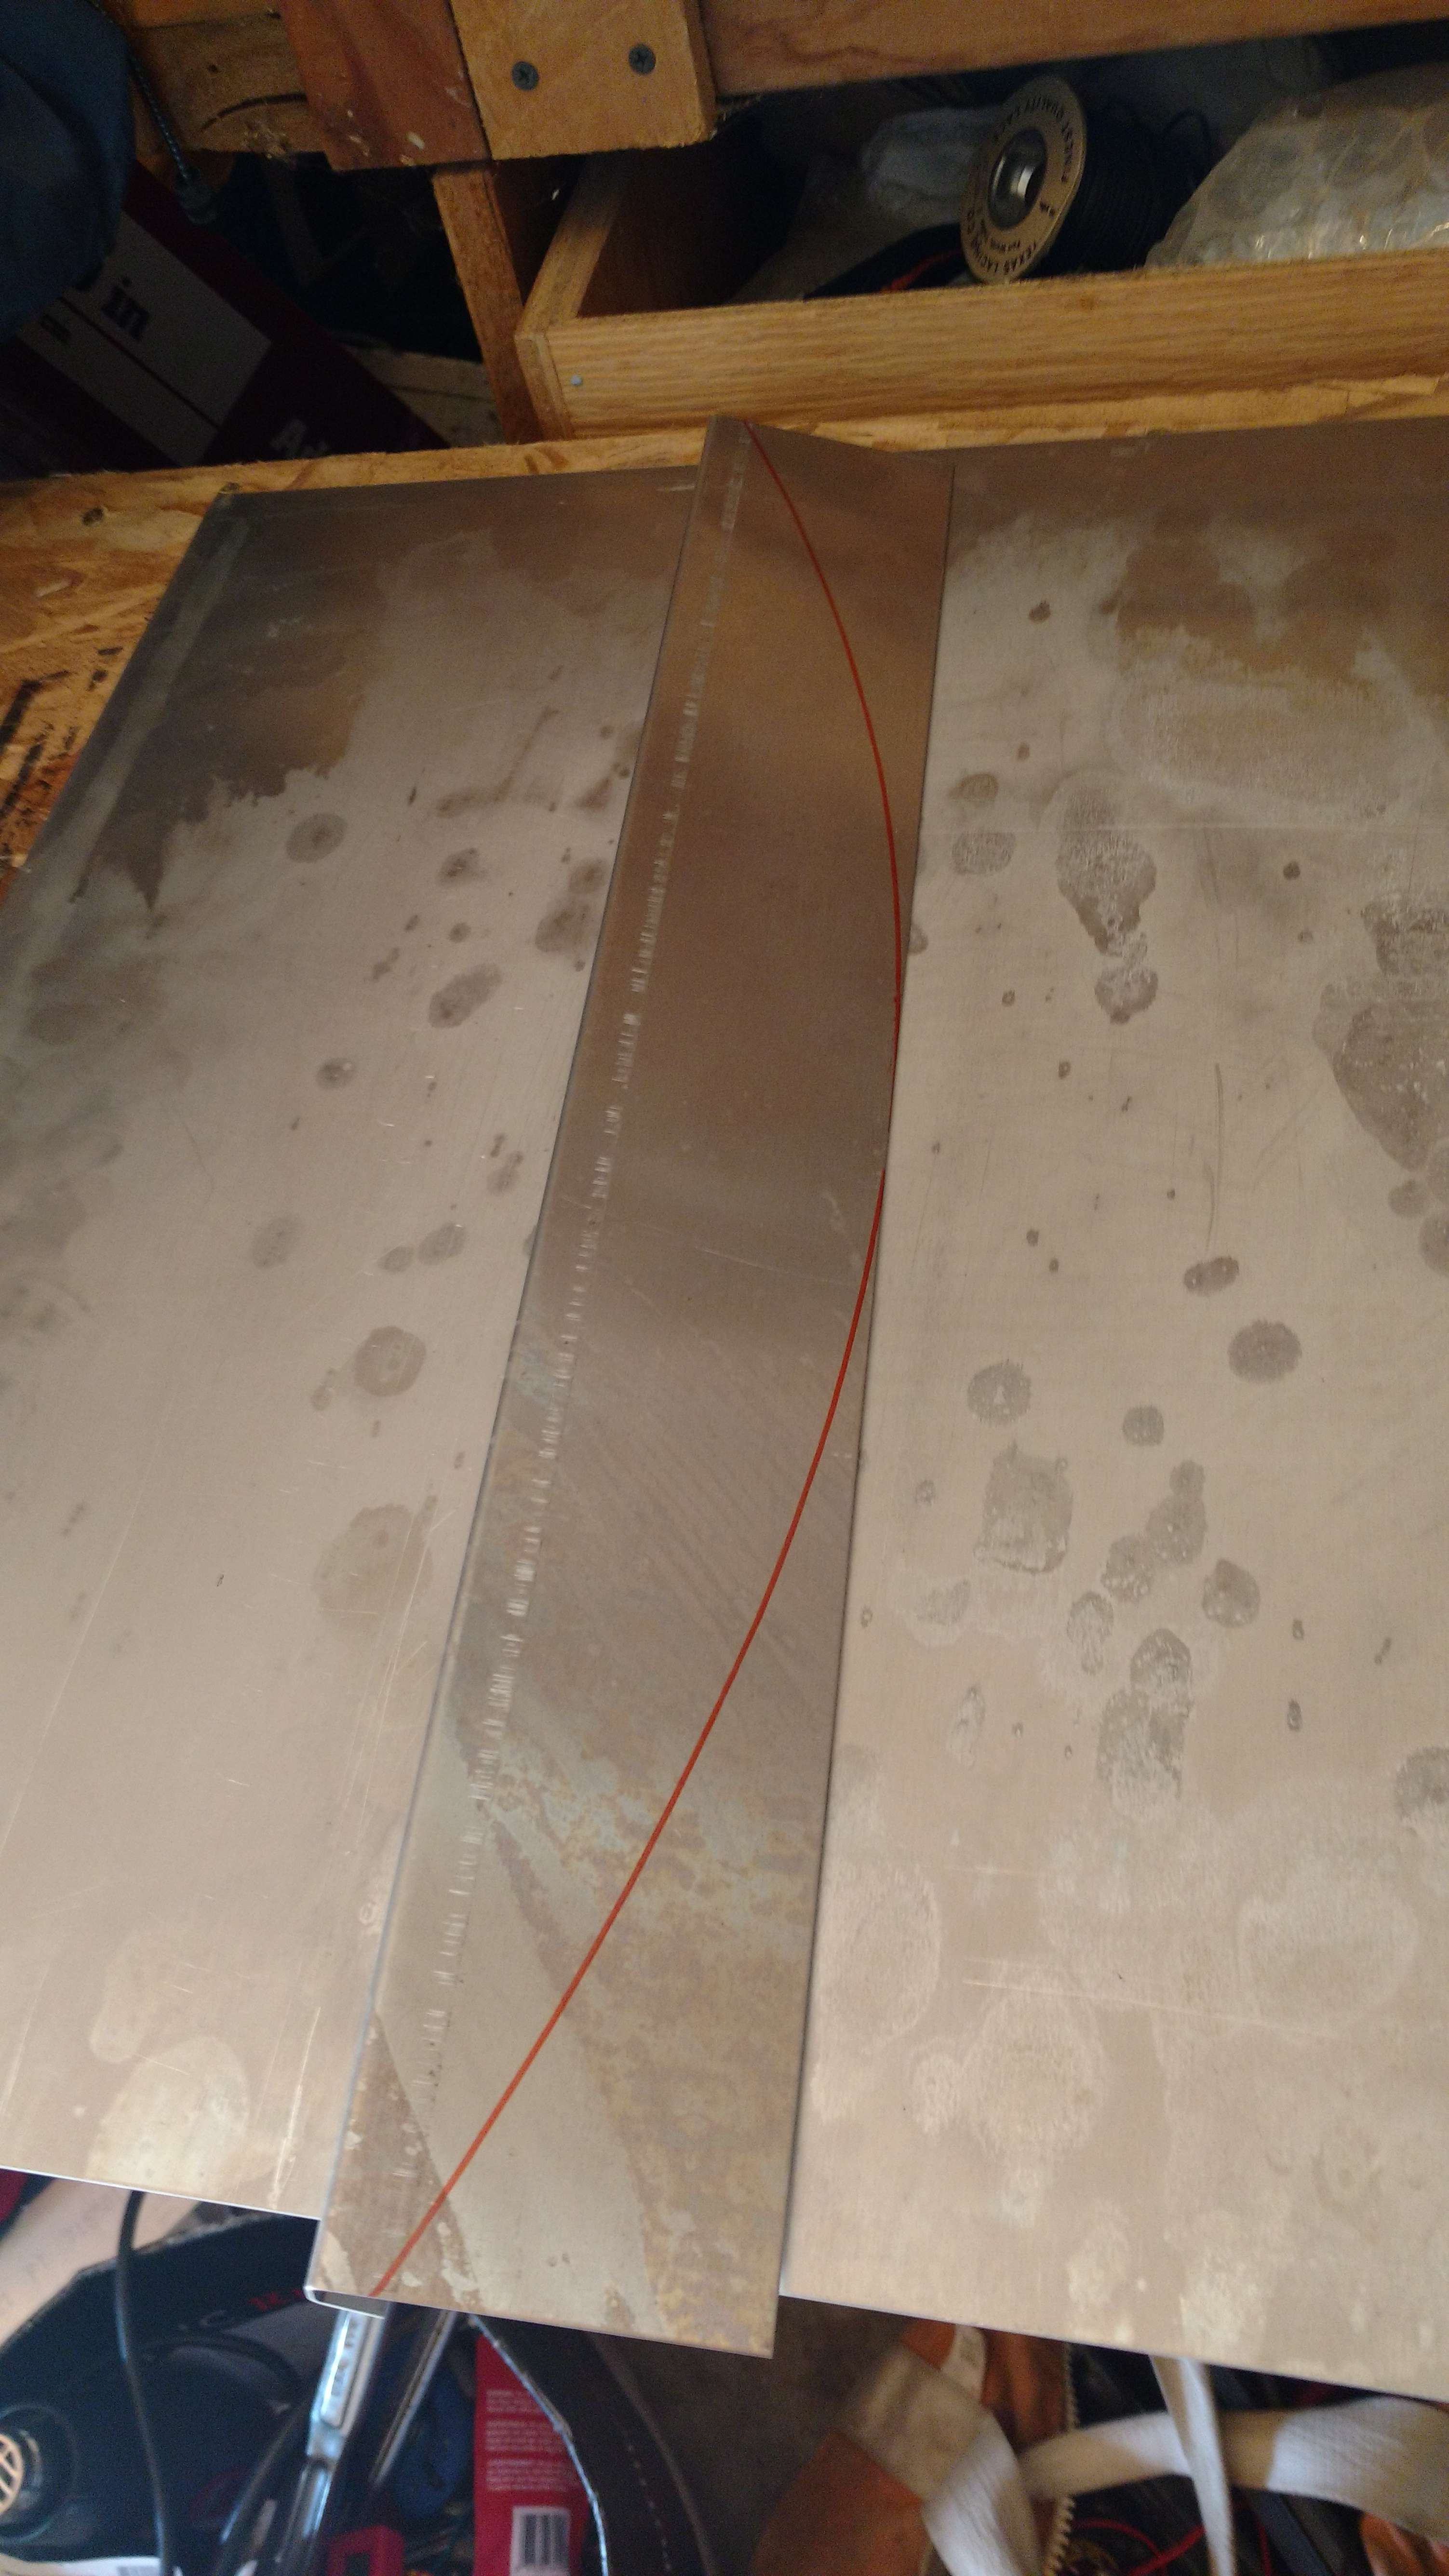
We have a manual box brake at work that does wonders on thin metals like this. I'll get more pics up shortly. One of the workers stayed after Friday and bent up my body in the big press so it could have nice radius's on it, it turned out really good.
I bought 50 pieces of the LED's from amazon so I've got lots, but I'm not sure if I'm sold yet on the brightness of the yellow and red. The green is very bright though. Interestingly enough this is fairly typical, I know the signal near my workplace downtown is very bright when green yet the yellow or red is just more of a glow. But, I haven't tested the head yet since I've put the lens on it so I'll see how it is. I may try something different and go with surface mounted LED's.
